| 4.13. Kant | ||
|---|---|---|

|
4. Menuen “Marker” |  |
| 4.13. Kant | ||
|---|---|---|
|
|
4. Menuen “Marker” | |
Figur 16.34. Example of creating a border from a selection

An image with a selection
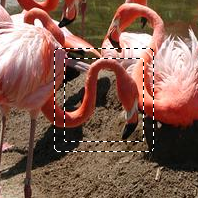
After “Select Border”
The command creates a new selection along the edge of an existing selection in the current image. The edge of the current selection is used as a form and the new selection is then created around it. You enter the width of the border, in pixels or some other unit, in the dialog window. Half of the new border lies inside of the selected area and half outside of it.
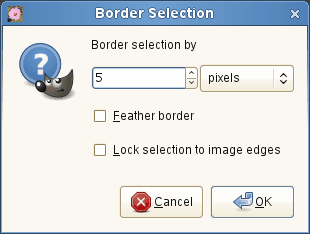
Enter the width of the border selection in the box. The default units are pixels, but you can also choose the units with the drop-down menu.
If this option is checked, the edges of the selection will be feathered. This creates a smooth transition between the selection and its surroundings. Note than you can't use the Feather Edges option of the selection tools for this purpose.
With this option enabled, an edge of an (usually rectangle) selection remains unchanged if it is aligned with an edge of the image; no new selection will be created around it.
Figur 16.36. Select border with and without “Lock to image edges”
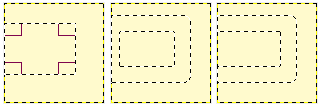
Select border without (middle) and with (right) locked selection.
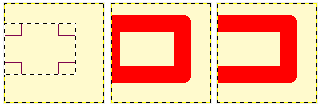
Same selections filled with red.