| 16.12. Cool Metal | ||
|---|---|---|

|
16. Alpha to Logo Filters |  |
| 16.12. Cool Metal | ||
|---|---|---|
|
|
16. Alpha to Logo Filters | |
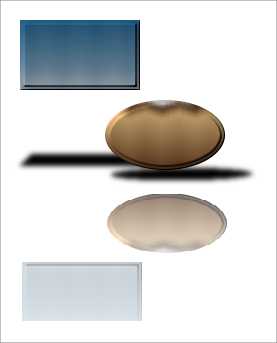
This filter creates an effect that looks like metal with a reflection in the mirrored ground, and an interesting drop shadow.
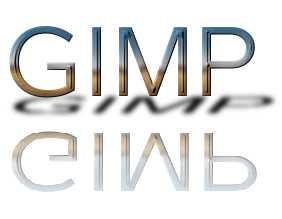
The filter is derived from the “Cool Metal” script ( → → → in the image window), which creates a logo from a text as shown above.
This is actually the font size option of the “Cool Metal” Script-Fu script. Some internal values will be set in relation to this size, for feathering, blurring, embossing, and creating ripple patterns.
The color of the background layer added by the filter. When you click in the color swatch button, the color select dialog pops up.
The default gradient to create the cool metal is “Horizon 1”. Clicking in the gradient button will open a simplified gradient dialog, where you can select any other gradient.
By default, the selected gradient will be applied from top to bottom. When this option is checked, the direction will be reversed.
At least some of the filter effects should be described briefly: how the filter creates the reflection and this nice shadow, or rather, how you can reproduce these effects manually. In fact, the only trick is to know which tool to use...
Making the reflection
Assuming that the alpha has been filled with a gradient, then:
Create a new layer containing the area you want to mirror, for example Copy and Paste the area in a new layer.
To make the reflection look more natural, scale down the layer (the filter resizes to 85% of the original height). You can do this e.g. using Scale Layer command or the Scale Tool.
Now add a layer mask, fill the layer mask with a gradient (for instance white or gray to black), and, of course, apply the layer mask.
Making the shadow
Fill the alpha with black, for instance via Duplicate Layer and Alpha to Selection, then
shrink and slant the layer, e.g. using the Perspective tool,
and apply a Gaussian Blur to the layer.