| 4.5. 이미지 잘라내기 | ||
|---|---|---|

|
4. 자주 하는 편집 작업 |  |
| 4.5. 이미지 잘라내기 | ||
|---|---|---|
|
|
4. 자주 하는 편집 작업 | |
불필요한 여백을 제거해서 원하는 크기로 맞추거나 대상을 강조하는 등의 이유로 이미지의 일정 부분을 잘라내 버리는 경우가 있습니다. 이런 경우를 위한 잘라내기 도구를 사용하려면 도구 상자에 있는 아이콘
 을 누르거나 이미지 창의 메뉴 모음에서 → → 를 선택합니다. 그러면 마우스 커서가 바뀌면서 사각형 모양으로 이미지를 잘라낼 수 있게 됩니다. 잘라내기 도구뿐만 아니라 다른 도구들도 도구 상자에 있는 아이콘을 클릭해 사용하는 것이 가장 쉽습니다.
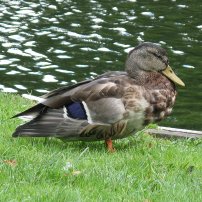
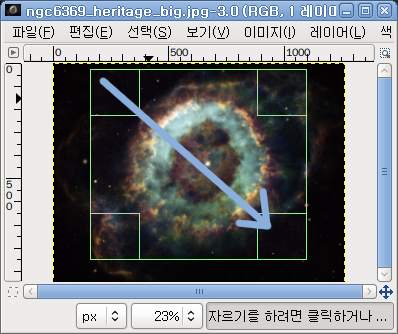
잘라내려는 영역의 한쪽 끝을 클릭하고 대각선으로 끌어 놓습니다. 이때 만들어지는 사각형은 나중에 조정할 수 있기 때문에 처음부터 정확하게 선택하려고 애쓰지 않아도 됩니다.
After completing the click and drag motion, a rectangle with special regions is shown on the canvas. As the cursor is moved over the different areas of the selected crop area, the cursor changes. You can then drag the rectangle's corners or edges to change the dimensions of the selected area. As shown in the figure above, as the crop area is resized, the dimensions and ratio are shown in the status bar. Double-click inside the rectangle or press Enter to complete cropping. See 4.4절. “Crop” for more information on cropping in GIMP.
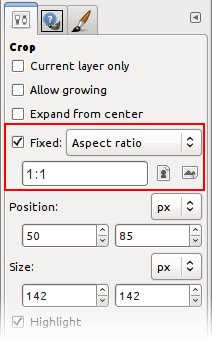
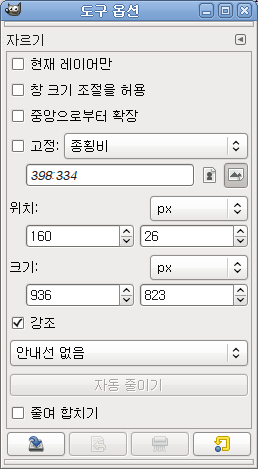
If you would like to crop the image in a specific aspect ratio, such as a square, make sure the tool options are visible ( → → ). In the Tool Options dockable, check the mark next to Fixed and make sure the drop-down box next to it is set to Aspect Ratio. You can now type the desired aspect ratio on the text box below, such as “1:1”.
You also have controls to change the aspect from landscape to portrait. After you set the aspect ratio, drag one of the corners of the crop rectangle to update it. The rectangle changes to the chosen ratio, and when you drag it should maintain that ratio.