| 7.52. Décalage | ||
|---|---|---|

|
7. Le menu « Calque » |  |
The command shifts the content of the active layer. Anything shifted outside the layer boundary is cropped. This command displays a dialog which allows you to specify how much to shift the layer and how to fill the space that is left empty by shifting it. It can be used to create tileable patterns.
This command only works on a single layer.
You can access this command
From the main menu through → → .
By using the keyboard shortcut Shift+Ctrl+O.
Ces options sont communes aux dialogues fondés sur GEGL. Reportez-vous à Section 2, « Options communes ».
With these two values, you specify how far the contents of the layer should be shifted in the horizontal (X) and vertical (Y) directions.
You can enter the offsets in the text boxes. Positive values move the layer to the right and downward. The default unit is pixels, but you can choose a different unit of measurement with the drop-down menu. A unit of « % » is sometimes useful.
You can also click-and-drag on canvas to move the layer.
Grâce à ce bouton, vous pouvez fixer automatiquement les décalages X et Y à la moitié de la largeur et de la hauteur de l’image respectivement.
Same as above, but only the X offset is set to exactly half the width of the image.
Same as above, but only the Y offset is set to exactly half the height of the image.
Il y a trois façons de remplir la partie du calque dégagée par le décalage:
Reboucler: Ce qui sort d’un côté rentre de l’autre côté.
Remplir avec la couleur d’Arrière-plan: Utilise la couleur d’arrière-plan de la Boîte à outils.
Make transparent: The empty space is made transparent. If the layer does not have an alpha channel, this choice is disabled.
Figure 16.118. Using « Offset » together with « Edge Behavior »
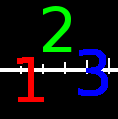
Original image
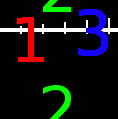
Y = -40, Edge Behavior = Wrap around
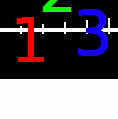
Y = -40, Edge Behavior = Fill with background color
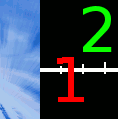
Y = -40, Edge Behavior = Make transparent
Figure 16.119. Motif répétitif
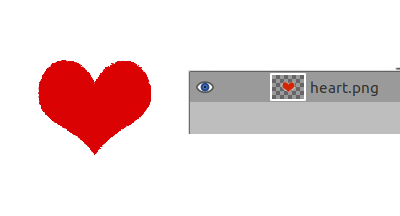
Original image; the corresponding Layers Dialog

Edge Behavior = Wrap around, Offset = By width/2, height/2

Create a repeated pattern via the Tile filter