| 5. 如何画直线 | ||
|---|---|---|

|
第 3 章 开始使用GIMP的第一步 |  |
| 5. 如何画直线 | ||
|---|---|---|
|
|
第 3 章 开始使用GIMP的第一步 | |
本教程基于文本和图像版权所有 © 2002 Seth Burgess。原始教程可以在[TUT01]中找到。
本教程向您展示如何使用GIMP绘制直线 。强制一条线是直的,是处理鼠标或平板电脑不精确的一种方便的方法,也可以利用计算机的强大能力使事情看起来整洁有序。本教程不使用直线来处理复杂的任务;它旨在展示如何使用它来创建快速简便的直线。
新建图像
首先,创建一个新图像。任何尺寸都可以。使用 → 创建一个新图像。
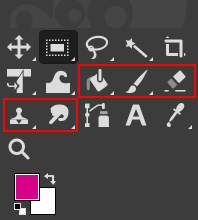
选择一个工具
Select a paint tool from the
Toolbox, for example
the
![]() Pencil tool or the
Pencil tool or the
![]() Paintbrush tool.
Paintbrush tool.
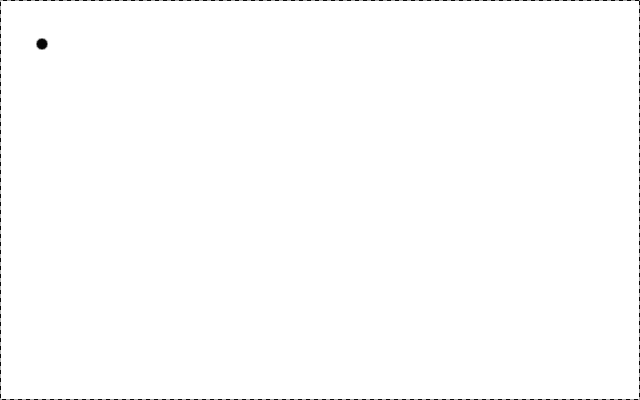
创建起点
Left-click in the image where you want a line to start or end. A
single dot will appear on the screen. The size of this dot
represents the current brush size, which you can change in the Brush
Dialog (see 第 3.2 节 “Brushes Dialog”). Now hold down the
![]() Shift key on your keyboard, and keep it down.
Shift key on your keyboard, and keep it down.
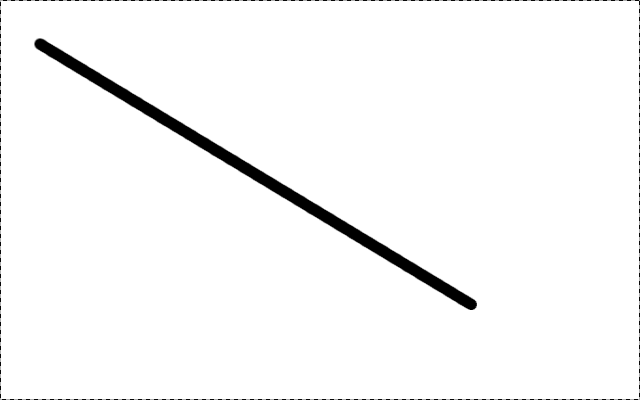
Draw the Line
有了起点并按下Shift键后,您将看到一条跟随光标的直线。按下鼠标上的第一个按钮(通常是最左边的一个)然后松开。在整个“点击”鼠标按钮期间,您需要按住 Shift键。
Final Result
You can draw straight lines with any of the Paint tools. The last step is to let go of the Shift key. We are finished. Some examples are shown in the next section.