| 10. 간단한 물체 그리기 | ||
|---|---|---|

|
7장. 김프로 그리기 |  |
| 10. 간단한 물체 그리기 | ||
|---|---|---|
|
|
7장. 김프로 그리기 | |
In this section, you will learn how to create simple objects in GIMP. It's pretty easy once you figure out how to do it. GIMP provides a huge set of Tools and Shortcuts which most new users get lost in.
Let's begin by painting a straight line. The easiest way to create a straight line is by using your favorite brush tool, the mouse and the keyboard.
절차 7.1. 직선 그리기
Create a new image. Select your favorite brush tool or use the pencil, if in doubt. Select a foreground color, but be sure that the foreground and background colors are different.
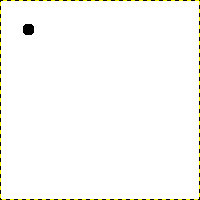
이미지 화면 영역에 마우스 좌버튼 클릭을 해서 시작점을 만들면, 그림 7.31. “새로운 이미지” 과 같은 화면이 됩니다.
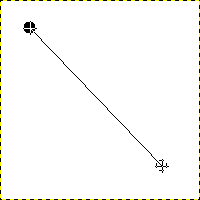
이제 Shift 버튼을 누른 상태로 마우스 커서를 시작점으로부터 멀리 떨어뜨립니다. 그러면 그려질 선의 모습을 나타내는 가는 선이 보일 것입니다.
If you're satisfied with the direction and length of the line, click the left mouse button again to finish the line. GIMP displays a straight line now. If the line doesn't appear, check the foreground and background colors and be sure that you kept the Shift key pressed while painting. You can keep creating lines by continuing to hold the Shift key and creating additional end points.