| 5. Como desenhar linhas retas | ||
|---|---|---|

|
Capítulo 3. First Steps with GIMP |  |
| 5. Como desenhar linhas retas | ||
|---|---|---|
|
|
Capítulo 3. First Steps with GIMP | |
Este tutorial é baseado no texto e imagens Copyright © 2002 Seth Burgess. O tutorial original pode ser encontrado na Internet [TUT01].
Este tutorial mostra como desenhar linhas retas com o GIMP. Forçar uma linha a ser reta é uma forma conveniente para lidar com a imprecisão do mouse ou tablet, e para aproveitar o poder de um computador para fazer as coisas parecerem limpas e arrumadas. Este tutorial não usa linhas retas para tarefas complexas; sua intenção é mostrar como você pode usá lo para criar linhas retas rápida e facilmente.
Create a New Image
First, create a new image. Any size will do. Use → to create a new image.
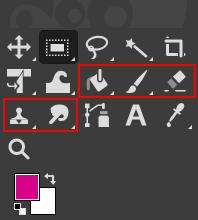
Escolha uma ferramenta
Select a paint tool from the
Toolbox, for example
the
![]() Pencil tool or the
Pencil tool or the
![]() Paintbrush tool.
Paintbrush tool.
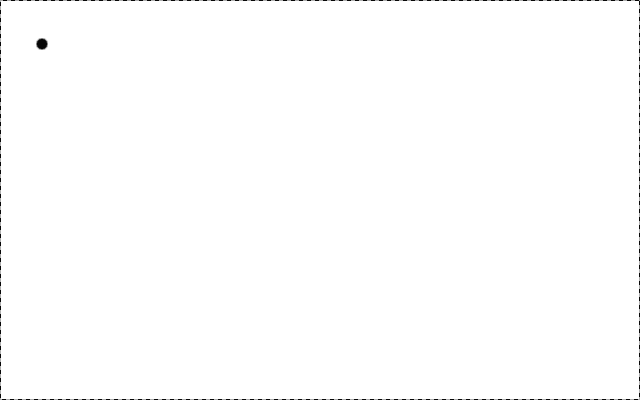
Criar um ponto inicial
Left-click in the image where you want a line to start or end. A
single dot will appear on the screen. The size of this dot
represents the current brush size, which you can change in the Brush
Dialog (see Seção 3.2, “Diálogo de pincéis”). Now hold down the
![]() Shift key on your keyboard, and keep it down.
Shift key on your keyboard, and keep it down.
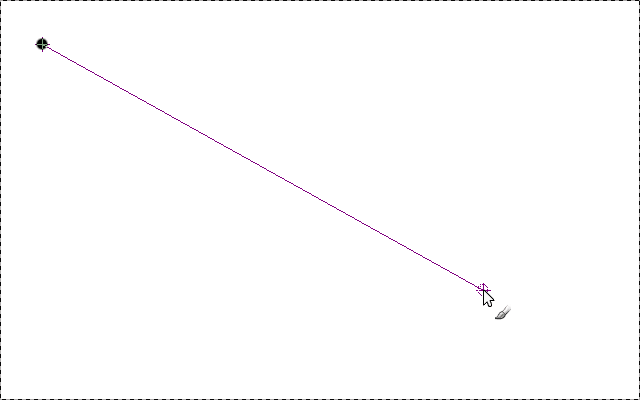
Draw the Line
After you have a starting point and while pressing the Shift key, you will see a straight line that follows the cursor. Press the first button on the mouse (the leftmost one usually) and let it go. During that whole “click” of the mouse button, you need to keep the Shift key held down.
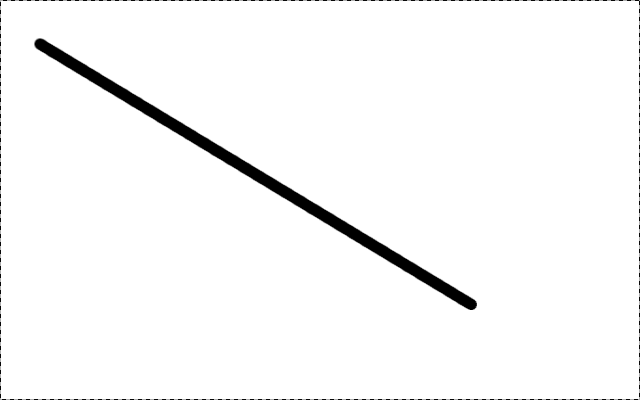
Final Result
You can draw straight lines with any of the Paint tools. The last step is to let go of the Shift key. We are finished. Some examples are shown in the next section.