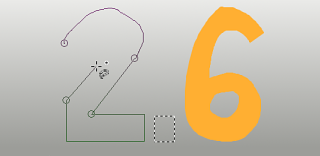
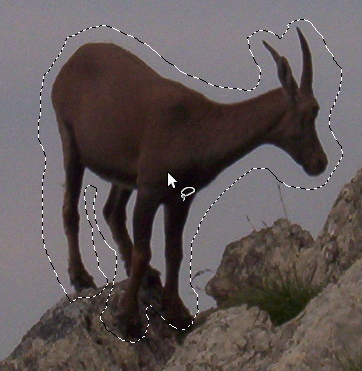
The Free Selection tool, lets you create a selection by drawing it with the pointer.
You can use this tool in two ways. First create the starting point by clicking on your image. Then:
-
Keep the mouse button pressed (i.e click-and-drag), drag to draw a freehand selection. When the end point is on top of the starting point, release the mouse button to close the selection.
If you click on the end point, it turns accompanied by a moving cross. Then, dragging enlarges the shape.
-
Or release the mouse button and drag to draw a polygonal selection. When the end point is on top of the starting point, click to close the selection.
Press the Ctrl key and click on the end point: moving the mouse pointer forces moving angles to 15°; so, you can draw horizontal or vertical lines easily.
In both cases, double clicking on the end point closes the selection with a straight line.
In polygonal mode, this selection is a preliminary selection; ants are marching, but the small yellow circle is still present: you can copy the selection and, pressing the Backspace key, you return to the previous selection step (re-open the shape), and you can edit the selection.
Press Enter or double click inside the shape to validate the selection.
Pressing and releasing the mouse pointer allows you to mix free hand segments and polygonal segments. You can go outside the edge of the image display and come back in if you want to.
Free Select is often a good tool to use for “roughing in” a selection; it is not so good for precise definition. Experienced users find that it is often convenient to begin with the Free Select tool, but then switch to Quick Mask mode for detail work.
For information on selections and how they are used in GIMP see Selections. For information on features common to all selection tools see Selection Tools.
![[Note]](images/note.png)
|
Note |
|---|---|
|
The Free Selection tool is much easier to use with a tablet than with a mouse. |
There are different possibilities to activate the tool:
-
From the main menu: → → .
-
By clicking the tool icon
in the Toolbox.
-
By pressing the F keyboard shortcut.
The Free Select tool has key modifiers that affect all selection tools in the same way. See Selection Tools for help with these.
Backspace returns to previous selection step (removes last selection segment), Escape cancels all selection segments.
To move the selection, see Moving selections.
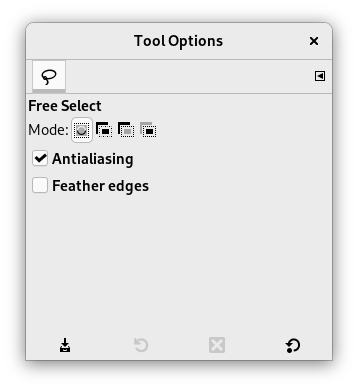
Normally, tool options are displayed in a window attached under the Toolbox as soon as you activate a tool. If they are not, you can access them from the main menu through → → which opens the option window of the selected tool. The available tool options can also be accessed by double clicking the corresponding tool icon in the Toolbox.
- Mode, Antialiasing, Feather edges
-
![[Note]](images/note.png)
Note See Selection Tools Options for help with options that are common to all these tools. Only options that are specific to this tool are explained here.
Marching ants come with a continuous line, meaning that the selection is not validated yet and that you can still change the selection shape (mouse pointer comes with the Move icon). But you can't use (holding it pressed) Shift, Ctrl yet. You have to hit the Enter key. Then you can use (holding them pressed) Shift to add a selection, Ctrl to subtract a selection, Shift + Ctrl to intersect two selections. When you are satisfied with your changes, hit Enter key to validate the selection.


