The Perspective Tool is used to change the “perspective” of the active layer content, of a selection content or of a path. When you click on the image, according to the Preview type you have selected, a rectangular frame or a grid pops up around the selection (or around the whole layer if there is no selection), with a handle on each of the four corners. By moving these handles by click-and-drag, you can modify the perspective. At the same time, a “Transformation information” pops up, which lets you valid the transformation. At the center of the element, a circle lets you move the element by click-and-drag.
![[Nota]](images/note.png)
|
Nota |
|---|---|
|
This tool is not actually a perspective tool, as it doesn't impose perspective rules. It is better described as a distort tool. |
There are different possibilities to activate the tool:
-
From the main menu: → → .
-
By clicking the tool icon
in the Toolbox.
-
By pressing the Shift+P keyboard shortcut.
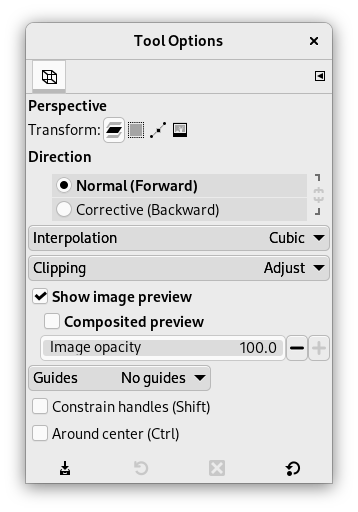
Normally, tool options are displayed in a window attached under the Toolbox as soon as you activate a tool. If they are not, you can access them from the main menu through → → which opens the option window of the selected tool. The available tool options can also be accessed by double clicking the corresponding tool icon in the Toolbox.
- Transform, Direction, Interpolation, Clipping, Show image preview, Guides
-
![[Nota]](images/note.png)
Nota These options are described in Transform tools common options.
- Constrain handles (Shift)
-
Constrain handles to move along edges and diagonal.
- Around center (Ctrl)
-
Transform around the center point.
When you click on the image window, the adjustment dialog appears.
- Transform Matrix
-
The information window shows a mathematical representation of the perspective transformation. You can find more information about transformation matrices on Wikipedia.
- Readjust button
-
With this button you can reset the transform handles back to the original square shape, while keeping the current transformation and zoom level. This enables you to create more complex transformations by making the transformation in several steps.


