Table des matières
- 1. High bit depth GIMP’s floating point Exposure operation: much better than Curves for lightening the shadows and midtones of an image without blowing the highlights
- 2. A step-by-step example showing how to recover shadow information using high bit depth GIMP’s floating point → operation
- 3. Notes d’utilisation
- 4. Conclusion
Ce didacticiel créé par Elle Stone provient de www.gimp.org/tutorials. Il est présenté ici pour traductions.
A very common editing problem is how to lighten the shadows and midtones of an image while retaining highlight details, a task sometimes referred to as “shadow recovery” and more generally speaking as “tone mapping”. This step-by-step tutorial shows you how to use high bit depth GIMP’s floating point Exposure operation to add one or more stops of positive exposure compensation to an image’s shadows and midtones while retaining highlight details.
Ce problème de traitement d’image se rencontre avec les photographies de scènes éclairées directement par la lumière du soleil. Les algorithmes utilisés sont souvent appelés « récupération des ombres », mais ce sont en fait des algorithmes de mappage tonal qui parfois marchent parfaitement et parfois moins bien, selon l’algorithme, l’image, et vos intentions artistiques concernant l’image.
This step-by-step tutorial shows you how to use GIMP’s unbounded floating point Exposure operation to recover shadow information—that is, add one or more stops of positive exposure compensation to an image’s shadows and midtones—without blowing out or unduly compressing the image highlights. The procedure is completely “hand-tunable” using masks and layers, and is as close as you can get to non-destructive image editing using high bit depth GIMP.
Figure 1 : lignes électriques à midi
Before and after tone mapping (aka “shadow recovery”) using high bit depth GIMP’s floating point Exposure operation.
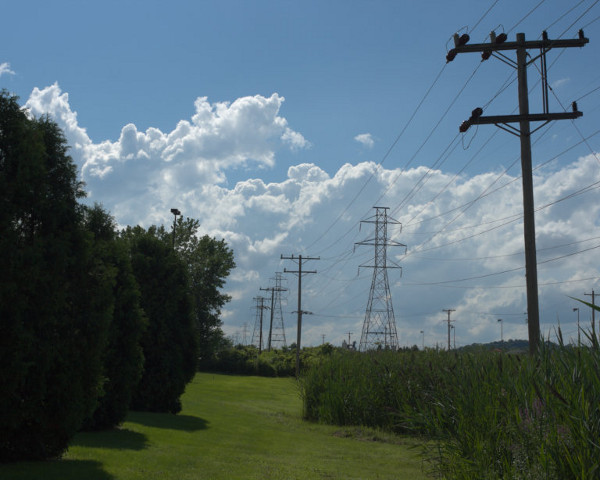
Fichier RAW se référant à la scène.
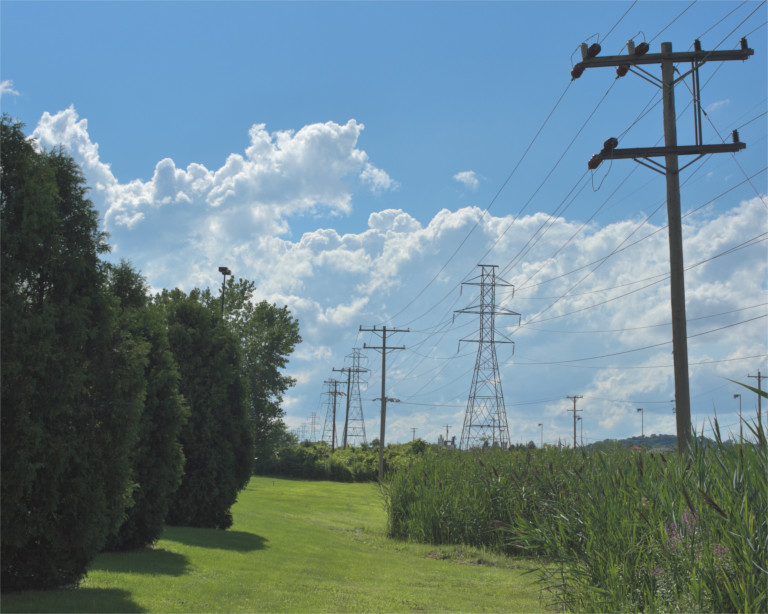
Après mappage tonal/réduction des ombres utilisant les Niveaux illimités de GIMP.
High bit depth GIMP is my primary image editor, and I’ve used the procedure described below for the last couple of years as my “go to” way to modify image tonality. The same general procedure can be used to darken as well as lighten portions of an image, again controlling the effect using a layer mask. This isn’t exactly nondestructive editing because at some point you need to make a “New from Visible” layer. But unlike using Curves, using high bit depth GIMP’s floating point Exposure operation doesn’t clip RGB channel values and allows you to fine-tune the results by modifying and re-modifying the layer mask until you are completely happy with the resulting tonality.


