Tabla de contenidos
- 1. High bit depth GIMP’s floating point Exposure operation: much better than Curves for lightening the shadows and midtones of an image without blowing the highlights
- 2. A step-by-step example showing how to recover shadow information using high bit depth GIMP’s floating point → operation
- 3. Notas de uso
- 4. Conclusión
Este tutorial proviene de www.gimp.org/tutorials y fue creado por Elle Stone. Se presenta aquí para traducciones.
A very common editing problem is how to lighten the shadows and midtones of an image while retaining highlight details, a task sometimes referred to as “shadow recovery” and more generally speaking as “tone mapping”. This step-by-step tutorial shows you how to use high bit depth GIMP’s floating point Exposure operation to add one or more stops of positive exposure compensation to an image’s shadows and midtones while retaining highlight details.
Un problema de edición muy común es cómo aclarar las sombras y los tonos medios de una imagen sin eliminar los reflejos, problema que a menudo se encuentra cuando se trabaja con fotografías de escenas iluminadas directamente por la luz del sol. Los algoritmos preestablecidos para realizar esta tarea a menudo se denominan algoritmos de «recuperación de sombra». Pero en realidad estos algoritmos son algoritmos de asignación de tonos de propósito especial, que a veces funcionan bastante bien, y a veces no tan bien, dependiendo del algoritmo, la imagen y de sus intenciones artísticas para la imagen.
This step-by-step tutorial shows you how to use GIMP’s unbounded floating point Exposure operation to recover shadow information—that is, add one or more stops of positive exposure compensation to an image’s shadows and midtones—without blowing out or unduly compressing the image highlights. The procedure is completely “hand-tunable” using masks and layers, and is as close as you can get to non-destructive image editing using high bit depth GIMP.
Figura 1: líneas eléctricas al mediodía
Before and after tone mapping (aka “shadow recovery”) using high bit depth GIMP’s floating point Exposure operation.
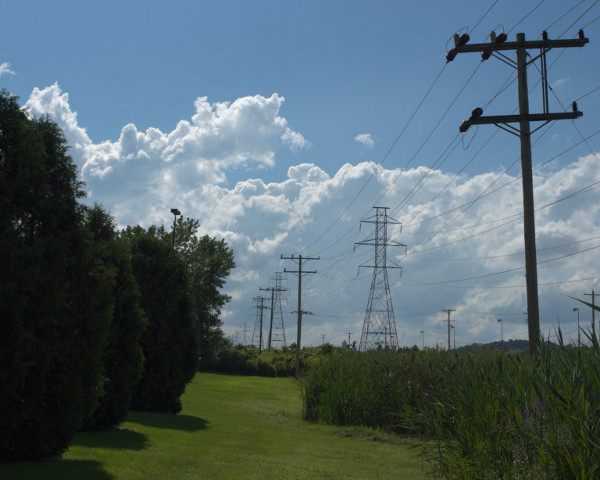
Archivo sin procesar interpolado referido a la escena.
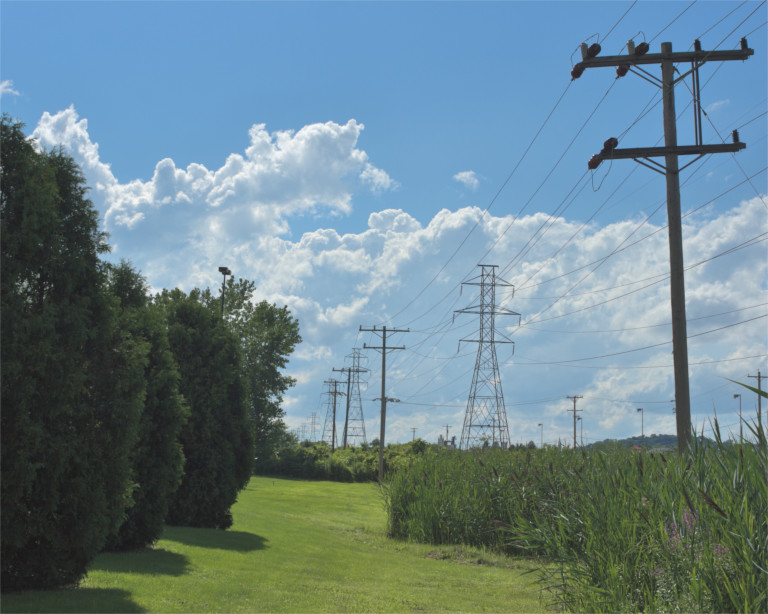
Después de la asignación de tonos o recuperación de sombras usando niveles ilimitados de GIMP.
High bit depth GIMP is my primary image editor, and I’ve used the procedure described below for the last couple of years as my “go to” way to modify image tonality. The same general procedure can be used to darken as well as lighten portions of an image, again controlling the effect using a layer mask. This isn’t exactly nondestructive editing because at some point you need to make a “New from Visible” layer. But unlike using Curves, using high bit depth GIMP’s floating point Exposure operation doesn’t clip RGB channel values and allows you to fine-tune the results by modifying and re-modifying the layer mask until you are completely happy with the resulting tonality.


