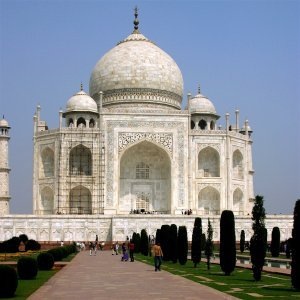
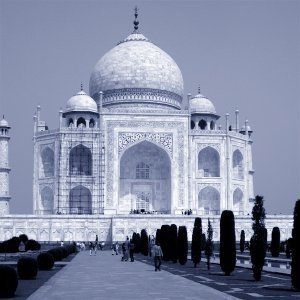
フィルターはかつての白黒写真のような画像に、 ソース画像に使われている色かもしくはグラデーションの色を使って着色します。
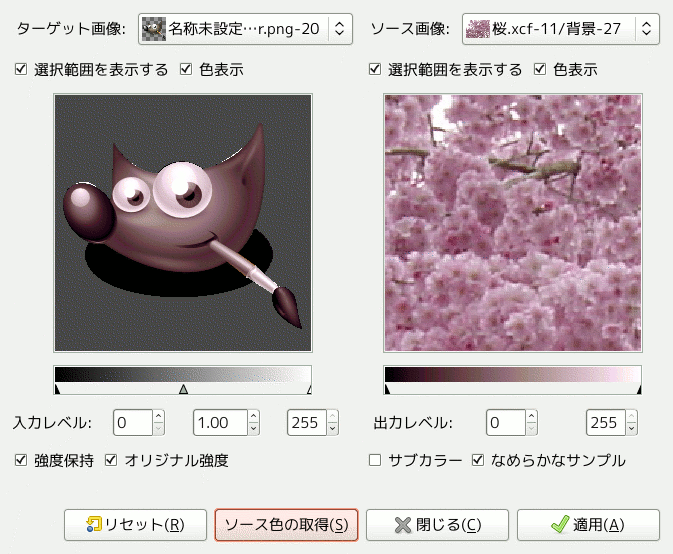
このフィルターのオプションウィンドウは左に色付け対象、 右に色の原本の 2 つの区画に分かれています。
- Destination, Sample
-
初期状態ではこのフィルターを呼び出した画像ウィンドウに表示されている画像がターゲットに選ばれ見本画像として右側に表示されます。
The sample can be the whole preview, or a selection of this preview. With the drop list, you can select another sample-image among the names of images present on your screen when you called the filter. If you choose From Gradient (or From Inverse Gradient), the selected gradient in Gradient Dialog (or its inverse) will be the sample. It will be displayed into the gradient bar below the sample preview. The sampling preview is grayed out and two cursors allow you to select the gradient range that will be applied to the image or selection.
Destination is, by default, the source image. The drop list displays the list of images present on your screen when you evoked the filter and allow you to select another destination image. If there is a selection in this image, it will be grayscale, else the whole preview will be grayscale.
- Show selection
-
このチェックボックスは選ばれた画像に選択範囲がある場合に選択範囲内だけを表示する状態と画像全体を表示する状態を切り替えます。
- Show color
-
This option toggles between colors and grayscale.
- Input levels
-
3 つの数値記入欄や 3 つの小さなスライダーで暗い色調と中間の色調と明るい色調の比重を調節できます。 ここでの操作は即座にターゲット画像の見本に反映されます。
- Output levels
-
2 つの数値記入欄と 2 つの小さなスライダーは同じはたらきをします。 両数値はターゲット画像を着色する色の範囲を定めます。 0 から 255 の範囲で任意の精密な調節が可能です。 ここでの操作は即座にターゲット画像の見本に反映されます。
- Hold intensity
-
このオプションにチェックを入れるとターゲット画像の明るさの度合いの平均がソース画像のそれと同じに保たれます。
- Original intensity
-
このオプションにチェックを入れると入力レベルの強度設定が無視されます。 元の強度がそのまま利用されます。
- ソース色の取得
-
When you click on this button, the gradient bar below the sample preview displays colors of the sample. If your sample holds few colors, transitions may be abrupt. Check Smooth samples option to improve them.
Use subcolors is more difficult to understand. Let's say first that in a grayscale image there is information only for Value (luminosity, more or less light). In a RGB image, each pixel has information for the three colors and Value. So, pixels with different color may have the same Value. If this option is checked, colors will be mixed and applied to Destination pixels having that Value. If it is unchecked, then the dominating color will be applied.


