| 5. Een rechte lijn trekken | ||
|---|---|---|

|
Hoofdstuk 3. First Steps with GIMP |  |
| 5. Een rechte lijn trekken | ||
|---|---|---|
|
|
Hoofdstuk 3. First Steps with GIMP | |
Deze korte cursus is gebaseerd op een tekst Copyright © 2002 Seth Burgess. Dat (engelstalige) origineel kan online worden gevonden: [TUT01].
Deze les leert je hoe je een rechte lijn kan trekken met GIMP. Een rechte lijn trekken is handig om geen last te hebben van onnauwkeurigheid en om het er netjes te laten uitzien. We maken het niet ingewikkeld, we houden het bij enkel losse lijnen.
Create a New Image
First, create a new image. Any size will do. Use → to create a new image.
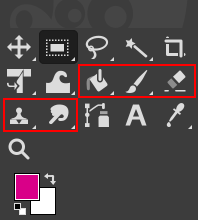
Kies een Gereedschap
Select a paint tool from the
Toolbox, for example
the
![]() Pencil tool or the
Pencil tool or the
![]() Paintbrush tool.
Paintbrush tool.
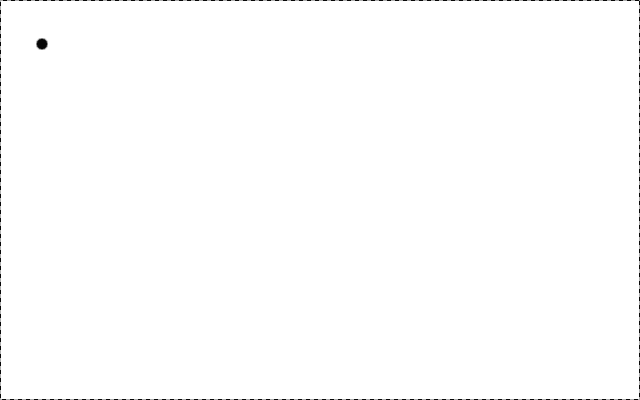
Maak en Beginpunt
Left-click in the image where you want a line to start or end. A
single dot will appear on the screen. The size of this dot
represents the current brush size, which you can change in the Brush
Dialog (see Paragraaf 3.2, “Het dialoogvenster Penselen”). Now hold down the
![]() Shift key on your keyboard, and keep it down.
Shift key on your keyboard, and keep it down.
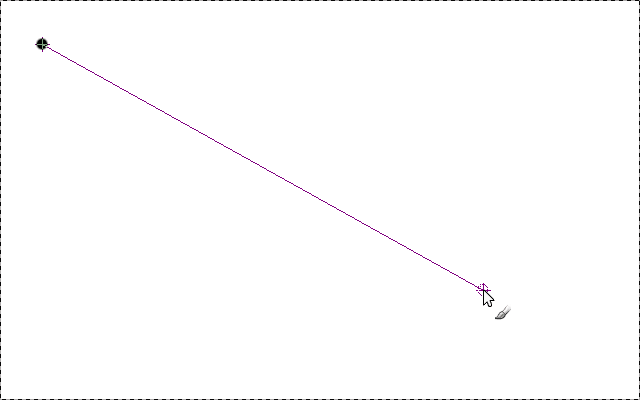
Draw the Line
Als je het beginpunt hebt gezet en de Shift toets vasthoudt zie je een rechte lijn die de positie van de muis volgt. Klik nu weer met de muis op de juiste plaats en laat pas daarna de Shift toets los.
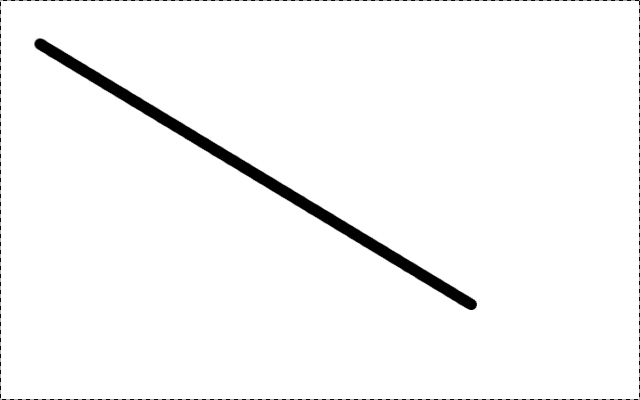
Final Result
You can draw straight lines with any of the Paint tools. The last step is to let go of the Shift key. We are finished. Some examples are shown in the next section.