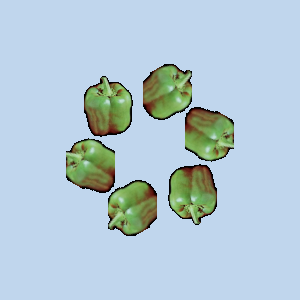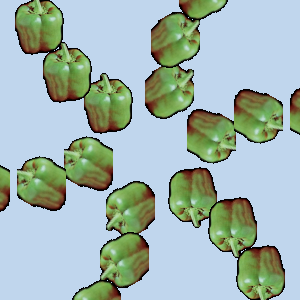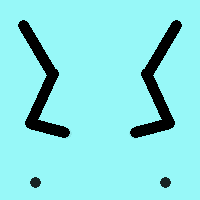
Symmetry Painting is supported by brush-based tools (Pencil, Paintbrush, Eraser, Airbrush, MyPaint brush, Clone, Smudge, Dodge) as well the Ink tool. There are several kinds of symmetry, all configurable.
You can access this dialog from the main menu through: → → .
The dialog “Symmetry Painting” is dockable. Read Section 2.3, “Dialogs and Docking” to learn more about the concept of dockability.
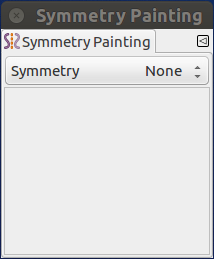
This dialog is very simple. You only have a Symmetry item with a drop-down list that offers four options. As soon as you check a symmetry type, symmetry axes appear as dotted green lines in the image window and you can start painting with the brush you have chosen.
Options
- none
-
That is the default option; the symmetry painting is not activated.
- Mirror
-
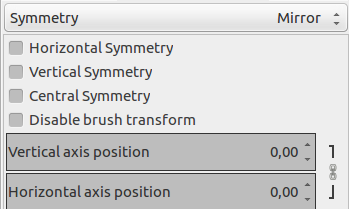
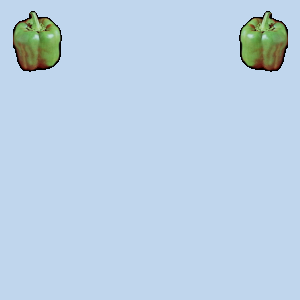
This is a symmetry like in a mirror. You can select an Horizontal symmetry, a Vertical symmetry or a Central symmetry. You can also select several symmetries.
The default position for symmetry axis is the middle of the image window. You can place axis where you want using Horizontal axis position and Vertical axis position.
Disable brush transform: when you transform the drawing, the brush itself will end up transformed as well. For instance, in a mirror transform, not only will your drawing on the right of the canvas be mirrored on the left, but the brush itself is obviously "flipped" on the left. If for some reason, you want the drawn lines to be mirrored (or other transformation) but not the brush outline itself, you can check this box. For obvious reason, you won't see it with symmetrical brushes though. That's why you don't see the effect since many default brushes are symmetrical.
- Tiling
-
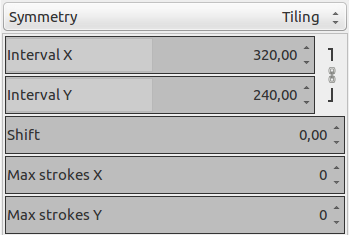
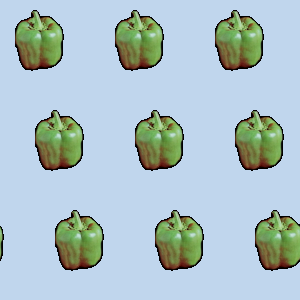
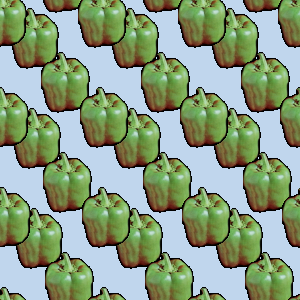
“Tiling” is a translational symmetry, which can be finite (with a maximum of strokes) or infinite. In the latter case, it is the perfect tool to create patterns or seamless tiles, at painting time.
This mode covers the image with strokes.
No axes here. The options are:
-
Interval X, Interval Y: these are the intervals on X and Y axis, in pixels, between stroke centers.
-
Shift: this the shift between lines on the X axis, in pixels.
-
Max strokes X, Max strokes Y: these are the maximal number of brush strokes on X and Y axis. Default is 0, which means no limit, according to the image size.
-
- Mandala
-
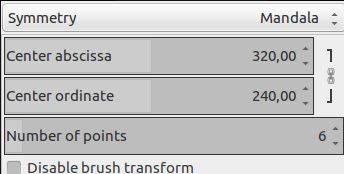
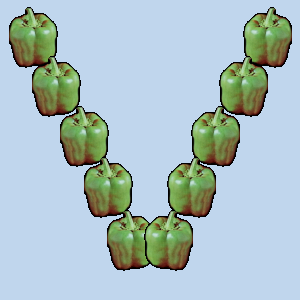
Strokes are placed around the center of coordinates of axis.
The options are:
-
Center abscissa, Center ordinate to position the center of coordinates.
-
Number of points: number of strokes.
-
Disable brush transform: see above.
-
Kaleidoscope: reflect consecutive strokes.
-
