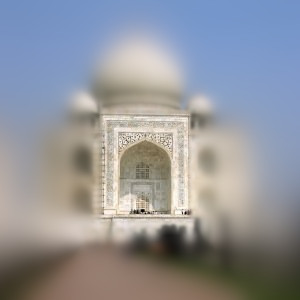
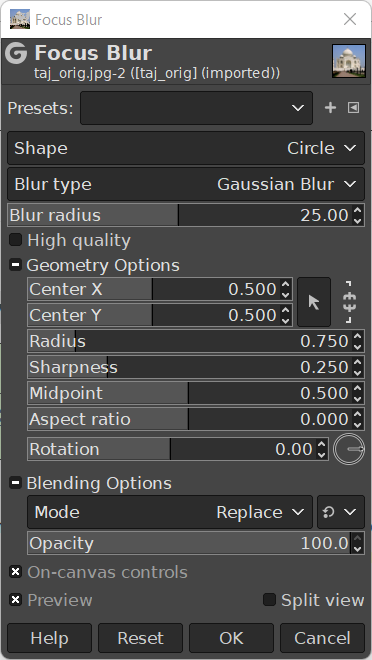
Focus blur creates a blur in all directions around a focal point. The default focal point is the center of the layer or selection. You can change this focal point by dragging the center point. All other points and lines can also be dragged to adjust the shape and focus area of the image.
- Presets, “Input Type”, Clipping, Blending Options, Preview, Merge filter, Split view
-
![[ياداشت]](images/note.png)
ياداشت These options are described in قسمت 2, “Common Features” .
- Shape
-
Here, you can select the shape used for creating the focus blur. The choices are Circle, Square, Diamond, Horizontal and Vertical.
- Blur type
-
The type of blur to use. The choices are Gaussian Blur and Lens Blur. It will use the filters of the same name to do the actual blurring.
- Blur radius
-
The size of the out-of-blur radius.
- High quality
-
Generate more accurate and consistent output. This is slower.
Only available when Blur Type is Gaussian Blur.
- Highlight factor
-
Relative highlight strength.
Only available when Blur Type is Lens Blur.
- Highlight threshold
-
Here you can set the minimum and maximum values for highlighting. It can be set either by dragging the black and white triangles, or inputting exact values into the number entry fields.
Only available when Blur Type is Lens Blur.
- Geometry Options
-
These geometry related options can all be changed by using the visual on-canvas controls. In case you need more fine-grained control, they can be set manually here.
- Center X, Center Y
-
Specifies the center X and Y position of the focus blur.
- Radius
-
The radius of the outer focus region. Visible as the outer continuous line.
- Sharpness
-
The radius of the inner focus region. Visible as the inner continuous line.
- Midpoint
-
The focus transition midpoint. Shown as a dashed line. The area from the inner (sharpness) line to the midpoint, is where the focus area turns into the blurred area.
- Aspect ratio
-
This controls the aspect ratio.
- Rotation
-
This controls the rotation in degrees. You can either use the circular control or enter numbers.
- On-canvas controls
-
This option (default) allows you to modify blur settings directly on canvas, for easier visual tweaking of blur settings. It displays lines in the selected shape with points on it. Both the lines and the points can be dragged with a mouse to change the focus center, the blurring area and other settings that are also available in the Geometry Options.


