| 5. 直線のひきかた | ||
|---|---|---|

|
第3章 First Steps with GIMP |  |
| 5. 直線のひきかた | ||
|---|---|---|
|
|
第3章 First Steps with GIMP | |
この演習は Seth Burgess 氏の著作 (著作権 © 2002) の文と画像がもとになっています。 原本はインターネット上で [TUT01] 入手できます。
この演習は GIMP での直線のひきかたについてご紹介します。 不正確になりがちなマウスやタブレットで引いた線が真っ直ぐになれば便利なことですし、 きっちり整った造形にコンピューターの能力が生かせます。 この演習では直線を使って何ら複雑な作業をするつもりはありません。 手早く簡単に直線がひけるようになることに重点をおいています。
Create a New Image
First, create a new image. Any size will do. Use → to create a new image.
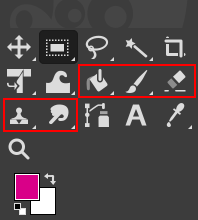
ツールを選ぶ
Select a paint tool from the
Toolbox, for example
the
![]() Pencil tool or the
Pencil tool or the
![]() Paintbrush tool.
Paintbrush tool.
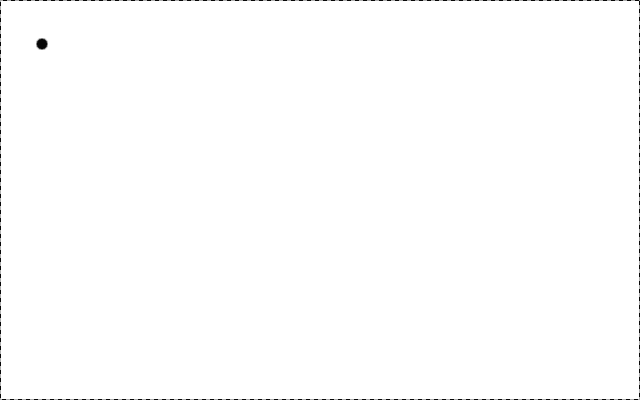
始点をとる
Left-click in the image where you want a line to start or end. A
single dot will appear on the screen. The size of this dot
represents the current brush size, which you can change in the Brush
Dialog (see 「ブラシダイアログ」). Now hold down the
![]() Shift key on your keyboard, and keep it down.
Shift key on your keyboard, and keep it down.
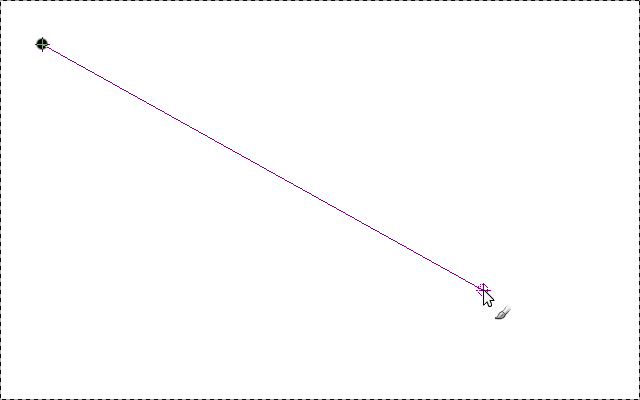
Draw the Line
After you have a starting point and while pressing the Shift key, you will see a straight line that follows the cursor. Press the first button on the mouse (the leftmost one usually) and let it go. During that whole 「click」 of the mouse button, you need to keep the Shift key held down.
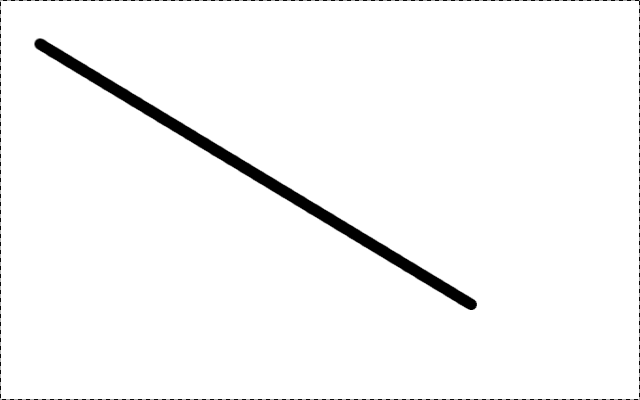
Final Result
You can draw straight lines with any of the Paint tools. The last step is to let go of the Shift key. We are finished. Some examples are shown in the next section.