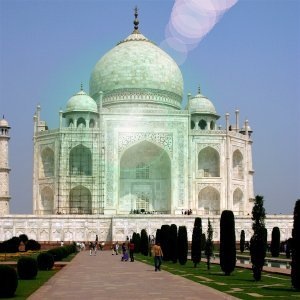
Gradient Flare effect reminds the effect you get when you take a photograph of a blinding light source, with a halo and radiations around the source. The Gradient Flare image has three components: Glow which is the big central fireball, Rays and Second Flares
![[Bemærk]](images/note.png)
|
Bemærk |
|---|---|
|
If the image is in indexed mode, this menu entry is disabled. |
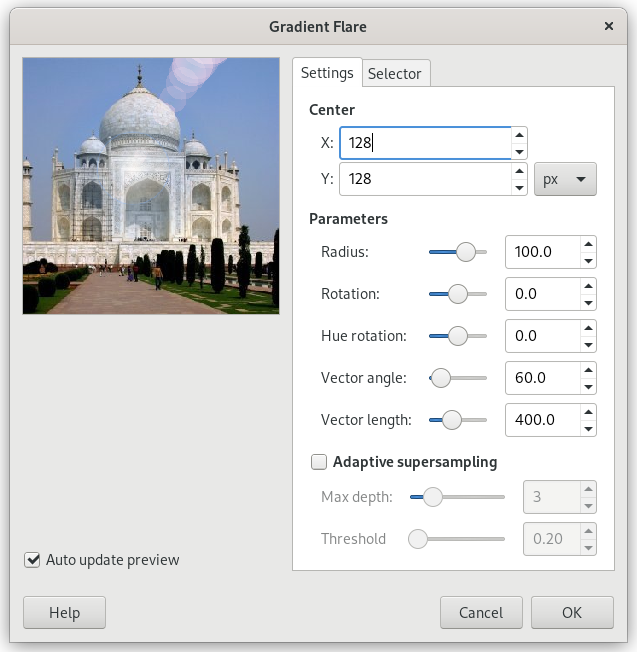
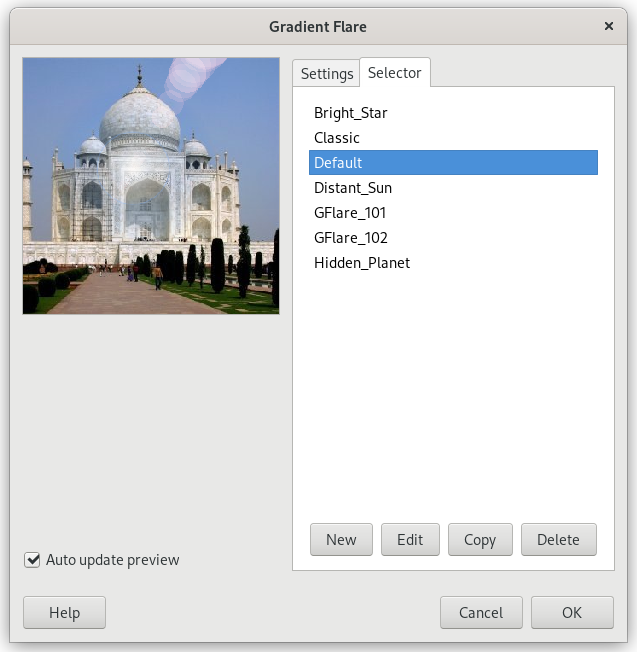
The Settings tab allows you to set manually the parameters while the Selector tab let you choose presets in a list.
- Forhåndsvisning
-
When Auto update preview is checked, parameter setting results are interactively displayed in preview without modifying the image until you click on OK button.
- Centrum
-
You can set the X and Y (pixels) coordinates using the input box or by clicking in the preview. The coordinate origin is at the upper left corner.
- Parametre
-
- Radius
-
The radius of the effect. The slider limits the range of possible values, but using the input box you can enter greater values.
- Rotation
-
Turn the effect.
- Hue rotation
-
Change the tint (color) of the effect.
- Vector angle
-
Turn the Second flares.
- Vector length
-
Vary the distance applied for the Second flares.
- Adaptiv supersampling
-
When enabled, adaptive supersampling, an anti-aliasing technique, is used when rendering the image. See Adaptiv udjævning for more information.
Enabling this setting activates the following options that can be used to adjust the supersampling.
- Max depth
-
Specifies the maximum depth for supersampling. This determines the number of samples used. Higher values may produce better results, but can potentially slow down the computation.
- Threshold
-
Specifies the lower threshold of pixel difference that stops supersampling.
The Selector tab allows you to select a Gradient Flare pattern, to change it and save it.
- Ny
-
When you click on this button, you create a new Gradient Flare pattern. Give it a name of your choice.
- Redigér
-
This button brings up the Gradient Flare Editor (see below).
- Kopiér
-
This button allows you to duplicate selected Gradient Flare pattern. You can edit the copy without altering the original.
- Slet
-
This button deletes the selected Gradient Flare pattern.
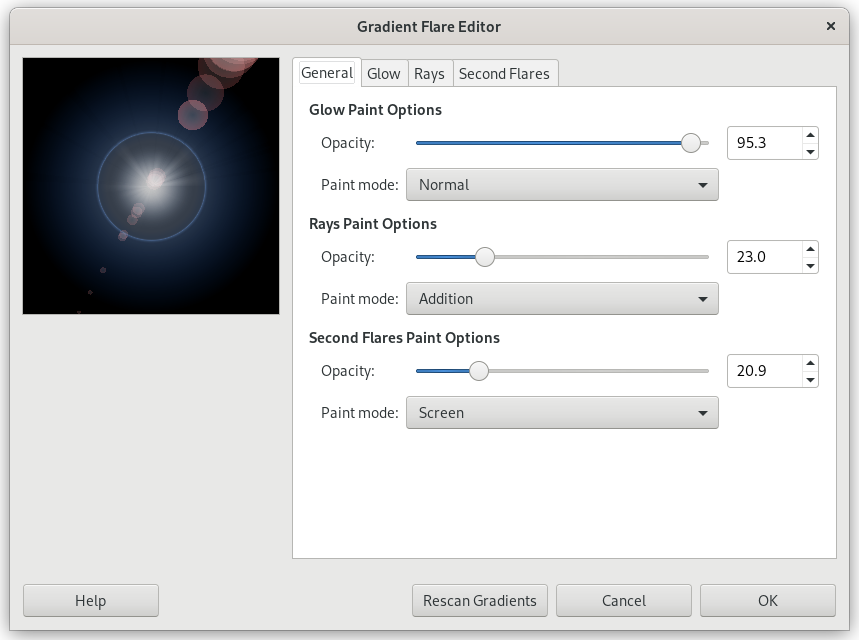
The Gradient Flare Editor is also organized in tabs:
- Indstillinger for glødtegning
-
- Opacitet
-
Slider and input box allows you to reduce glow opacity (0-100).
- Paint mode
-
You can choose between four modes:
- Normal
-
In this mode, the glow covers the image without taking into account what is beneath.
- Læg til
-
Pixel RGB values of glow are added to RGB values of the corresponding pixels in the image. Colors get lighter and white areas may appear.
- Læg over
-
Light/Dark areas of glow enhance corresponding light/dark areas of image.
- Skærm
-
Dark areas of image are enlightened by corresponding light areas of glow. Imagine two slides projected onto the same screen.
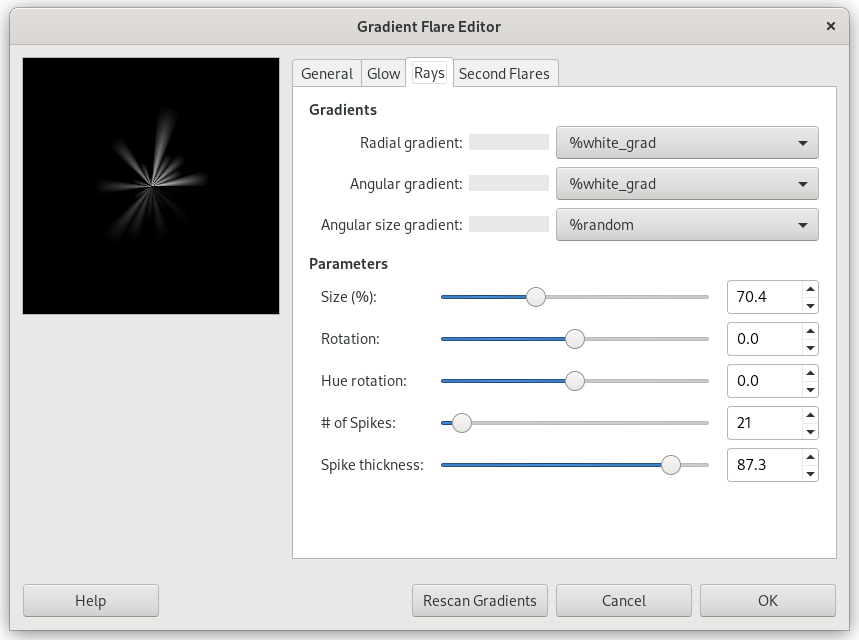
- Indstillinger for stråletegning
-
Options are the same as for Glow Paint Options.
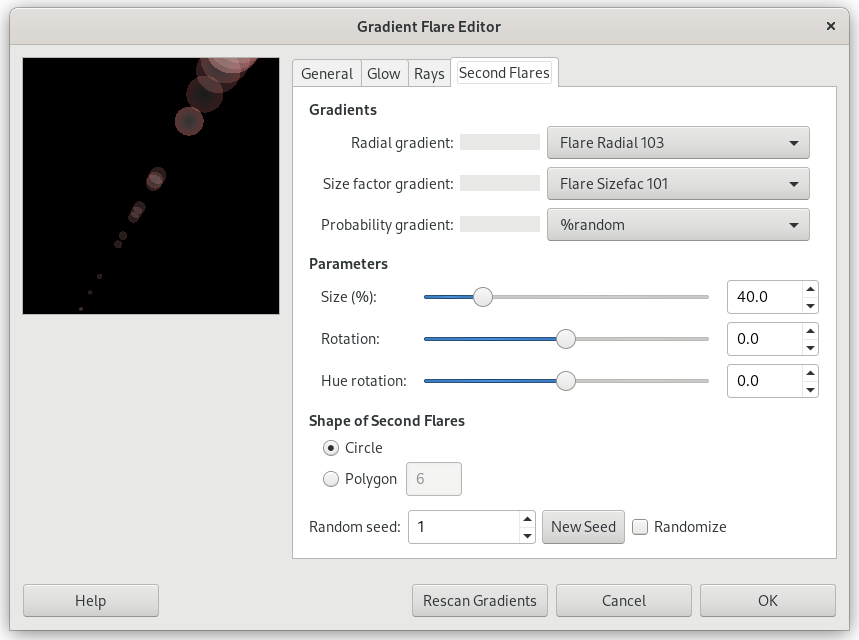
- Second Flare Paint Options
-
Options are the same as for Glow Paint Options.
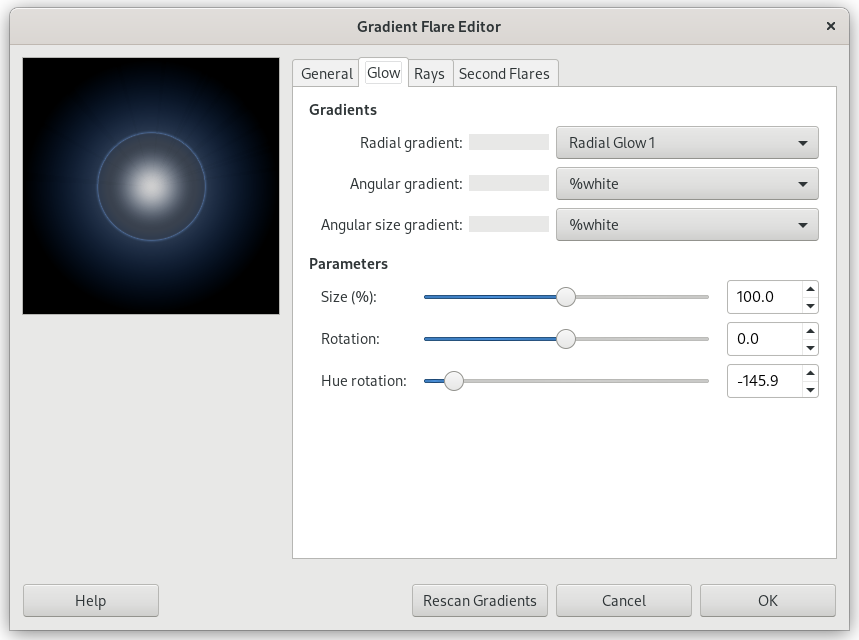
- Farveovergange
-
By clicking on the rectangular buttons, you can develop a long list of gradients. “%” gradients belong to the Editor.
- Radial gradient
-
The selected gradient is drawn radially, from center to edge.
- Angular gradient
-
The selected gradient develops around center, counter-clockwise, starting from three o'clock if the Rotation parameter is set to 0. Radial and angular gradients are combined according to the Multiply mode: light areas are enhanced and colors are mixed according to CMYK color system (that of your printer).
- Angular size gradient
-
This is a gradient of radius size which develops angularly. Radius is controlled according to gradient Luminosity: if luminosity is zero (black), the radius is 0%. If luminosity is 100% (white), the radius is also 100%.
- Parametre
-
- Size (%)
-
Sets size of glow in percent (0-200).
- Rotation
-
Sets the origin of the angular gradient (-180 +180).
- Hue rotation
-
Sets glow color, according to the HSV color wheel (-180 +180). (Cf. The triangle color selector.)
- Farveovergange
-
The options are the same as for Glow.
- Parametre
-
The options are the same as for Glow.
- Form på det andet blus
-
Second flares, these satellites of the main flare, may have two shapes: Circle and Polygon. You can set the Number polygon sides. The option accepts 1 side (!), not 2.
- Random seed, New Seed
-
This option controls the randomness of the filter. The Random seed box lets you manually enter a seed for the randomization algorithm used. You can also generate a random seed by pressing the button. If the same random seed is used in the same situation, the filter produces exactly the same results. A different random seed produces different results.
- Randomize
-
When you click on this button, you produce a random seed that will be used by the random generator. It is each time different.
