The Measure Tool is used to gain knowledge about pixel distances in your working image. By clicking and dragging the mouse button, you can determine the angle and number of pixels between the point of click and where the mouse pointer is located. The information is displayed on the status bar or can also be displayed in the Info Window.
A common use case for “Measure” is to calculate the angle of rotation when horizon is uneven on a photo. To rotate in order to straighten the horizon, click the Straighten button after measuring the angle.
This button can be used in straightening horizontal or vertical lines up: the starting point comes with a small bar that shows the direction.
Quando você passar o cursor do mouse sobre o ponto final, ele se transformará em um ponto móvel. Então, se você clicar sobre ele você poderá arrastar o ponto final e medir a distância do mesmo ponto inicial para outros pontos.
A informação será mostrada na barra de estado, na parte inferior da janela de imagem:
-
distância entre o ponto original e o cursor do mouse, em pixels.
-
Ângulo, em cada quadrante, de 0° a 90°.
-
Coordenadas do ponto em relação ao ponto original.
There are different possibilities to activate the tool:
-
From the main menu: → .
-
By clicking the tool icon
in the Toolbox.
- Shift
-
While holding down the Shift key, click and drag from an existing endpoint to create a second measurement line from this endpoint. The angle between the two lines will be displayed. Any endpoint can be moved by clicking and dragging. So, you can measure any angle on the image:
Figura 14.139. Shift modifier
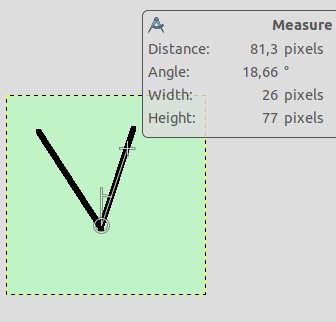
Click on start point and drag following a side of the angle.
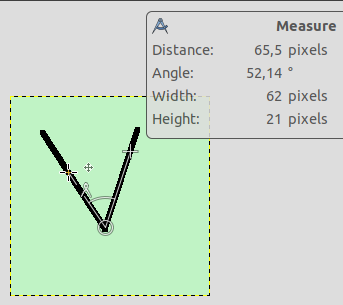
Then, Shift-click on start point and drag following the other side of the angle: you get the value of this particular angle.
- Ctrl
-
Ao pressionar a tecla Ctrl, a ferramenta entra no modo de restrição de ângulos. A orientação da linha é forçada a aparecer apenas em ângulos múltiplos de 15 graus em relação a horizontal. (Dica: essa funcionalidade de restrição a ângulos de 15° também funciona ao com a maior parte das ferramentas de pintura)
Ctrl key pressed and click on an end point creates a horizontal guide. The mouse pointer goes with the
 icon.
icon.
In Horizontal or Vertical Orientation modes, Ctrl also toggles between Horizontal and Vertical.
- Alt
-
Alt key and click on an end point creates a vertical guide.
- Ctrl+Alt
-
Pressionar essa combinação de teclas e clicar em uma linha de medição permite mover a medição.
Pressionar a combinação de teclas Ctrl+Alt e clicar em um ponto final cria duas guias: uma vertical e uma linha horizontal passando pelo ponto clicado.
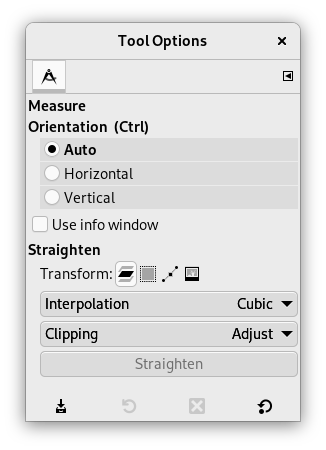
Normally, tool options are displayed in a window attached under the Toolbox as soon as you activate a tool. If they are not, you can access them from the main menu through → → which opens the option window of the selected tool. The available tool options can also be accessed by double clicking the corresponding tool icon in the Toolbox.
- Orientation (Ctrl)
-
In the Auto mode (default), will snap to the smallest angle between the measure line and the vertical or horizontal direction. Horizontal and Vertical allow to override this behavior by specifying explicitly what it should be.
- Usar janela de informações
-
This option will display an Info Window dialog that details the measure tool results. The results are more complete than on the status bar.
- Straighten
-
Transform, Interpolation, and Clipping are treated in Seção 4.1.1, “Opções”. Here is an example for straightening a path:
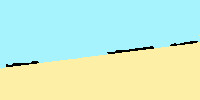
Original image
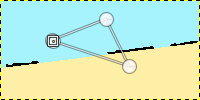
Draw path
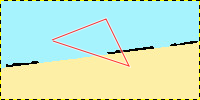
Make path visible
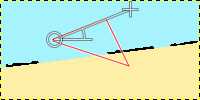
Draw measure line on the segment you want to straighten
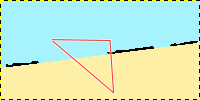
Straighten
Figura 14.141. “Straighten” clipping options
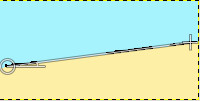
Draw measure line
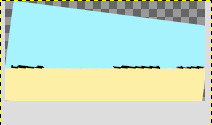
Straighten with “Adjust” option
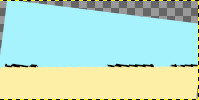
Straighten with “Clip” option
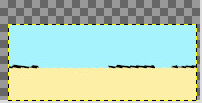
Straighten with “Crop to result” option
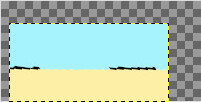
Straighten with “Crop with aspect” option
: click on this button to perform straightening.
Você não pode medir áreas diretamente, mas você pode usar o Histograma que lhe mostrará o número de pixels em uma seleção.
