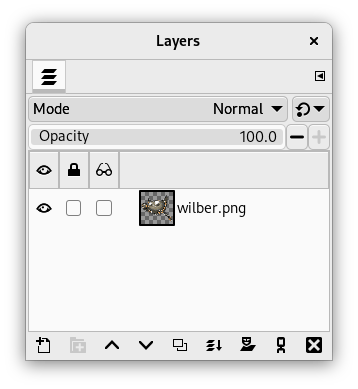
Since GIMP 2.10 layer modes have changed. The old perceptual layer modes are still available for backwards compatibility. They are called 「legacy layer modes」. These legacy layer modes will be used when loading images made before the introduction of the new, mostly linear, layer modes.
For more information on layer modes in general, see the default Layer Modes.
If you need to stay compatible with older GIMP versions or you need to
use the legacy layer modes for other reasons, select the
![]() icon next to the Mode drop-down and change the setting
from Default to
icon next to the Mode drop-down and change the setting
from Default to
![]() Legacy mode.
The Mode drop-down will now only show legacy layer
modes. All modes will have (legacy) behind their name
(the selected mode will use the short version (l)).
Legacy mode.
The Mode drop-down will now only show legacy layer
modes. All modes will have (legacy) behind their name
(the selected mode will use the short version (l)).
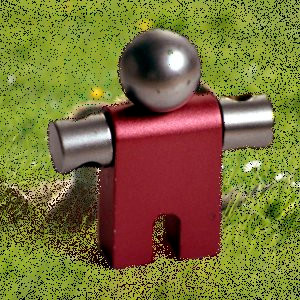
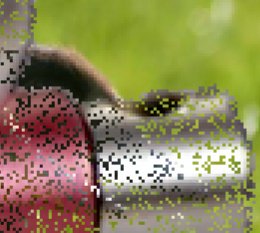
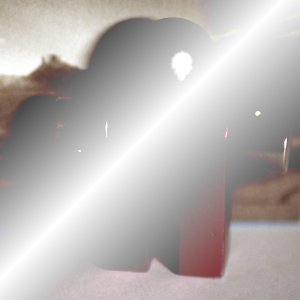
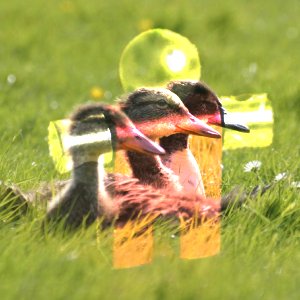
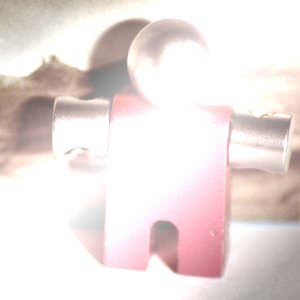
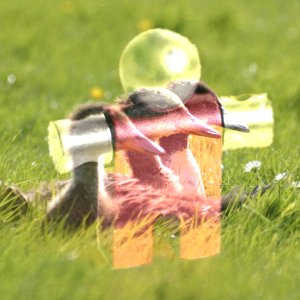
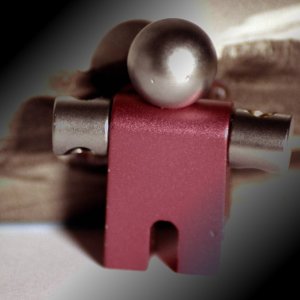
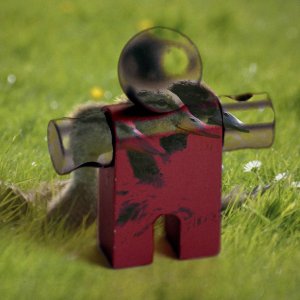
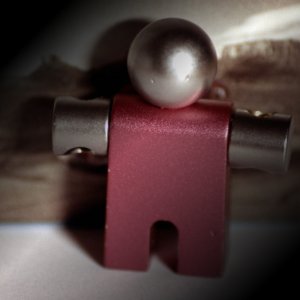
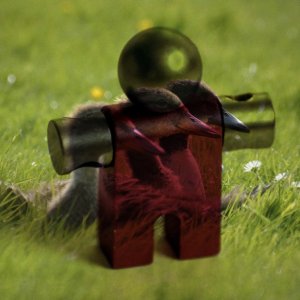
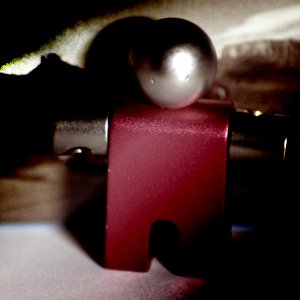
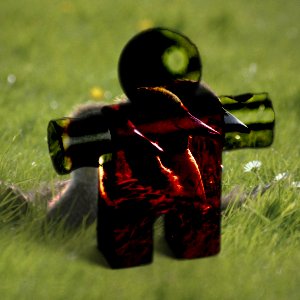
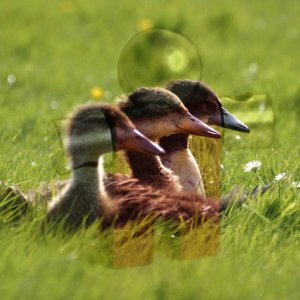
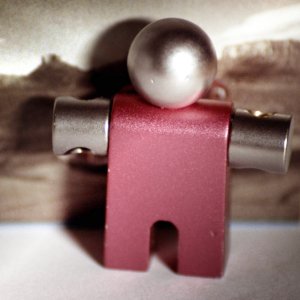
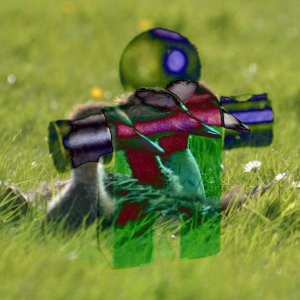
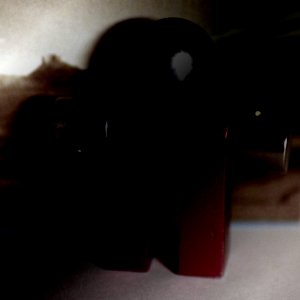
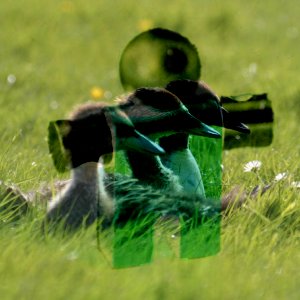
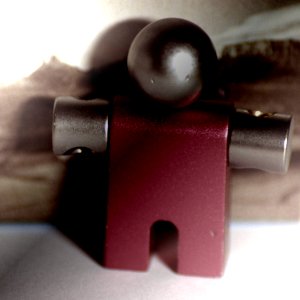
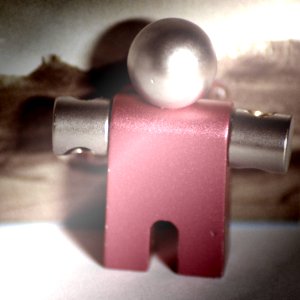
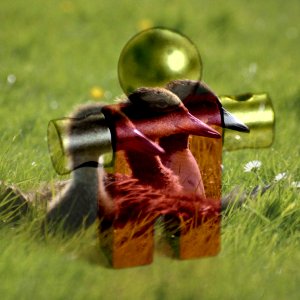
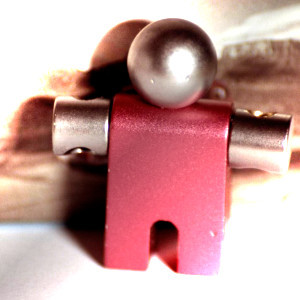
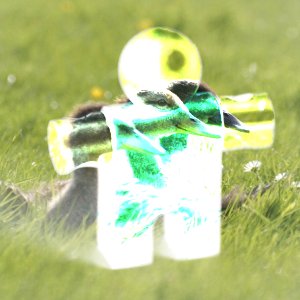
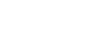
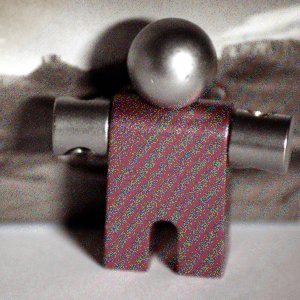
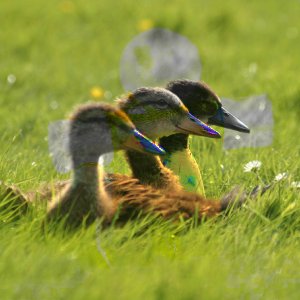
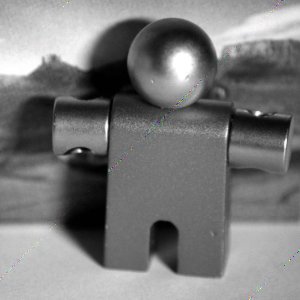
図8.47 Images (masks) used for the layer mode examples
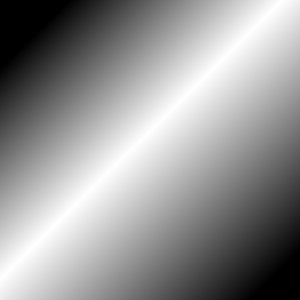
マスク 1
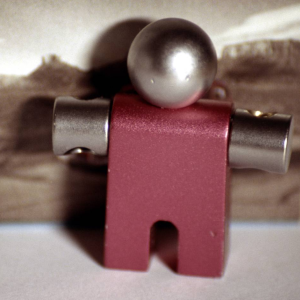
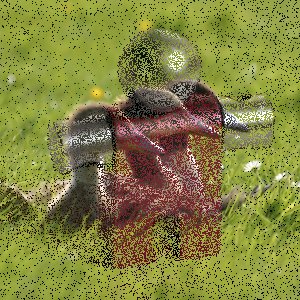
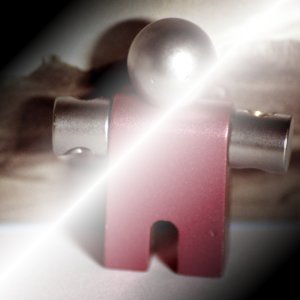
Mask 2 (note: this image is not the actual mask used, but a screenshot of the mask with the checkerboard pattern showing the transparent parts in GIMP)
In the descriptions of the layer modes below, the equations are also shown. This is for those who are curious about the mathematics of the layer modes. You do not need to understand the equations in order to use the layer modes.
数式には略号を使っています。 たとえば次の等式

means, 「For each pixel in the upper (Mask) and lower (Image) layer, add each of the corresponding color components together to form the E resulting pixel's color.」 Pixel color components must always be between 0 and 255.
![[注記]](images/note.png)
|
注記 |
|---|---|
|
特に断わりのない限り、 計算で負の値が出れば 0 に直され、 255 を越えれば 255 になります。 |
The examples below show the effects of each of the legacy modes. Note that for simplicity we will omit 「(legacy)」 when mentioning the layer modes here.
各モードの成果はレイヤーの色に非常に大きく左右されるため、 例図の画像からではモードの効能はごく一般的な感触しか掴めません。 まずはご自分で確かめられることをお勧めします。 試しに何かの画像にその複製レイヤーを重ねて、 片方だけちょっと変化 (ぼかし、 移動、 回転、 拡大・縮小、 色反転など) させておいてから、 レイヤーモードを変更するとどんなことが起きるかを見比べるのです。
Normal Layer Modes
- 標準
-
In this group, only 「Normal」 is normal.
モードは既定のレイヤーモードです。 上のレイヤーがその下側のレイヤーを覆い隠します。 このモードで下側のレイヤーが僅かでも見えるようにするには上のレイヤーに透過部分がなくてはなりません。
等式はつぎのとおり。
- ディザー合成
-
は画素を無作為に透過させるディザー効果を上側のレイヤーにかけてその下のレイヤーと合成します。 この技法はレイヤーモードのみならず描画のモードでもたびたび役立ちます。
このモードは画像を重ねた縁の付近で特にその特徴が顕著に現れます。 拡大したスクリーンショットをご覧になればもっとわかりやすいでしょう。 下図の左の[上の]画像は「標準」レイヤーモードを、 右の[下の]画像は「ディザー合成」レイヤーモードを使った同じ部分を抜き出したものですが、 画素の散乱の様子がはっきりわかります。


Lighten Layer Modes
- 比較(明)
-
モードは上下両レイヤーの画素の値を比較して大きな値を結果の画像に使います。 真っ黒なレイヤーがあると何の変化も起きず、 真っ白なレイヤーがあると白い画像になります。
等式はつぎのとおり。
このモードは可換です。 両レイヤーの順序を問いません。
- スクリーン
-
モードはまず画像の両レイヤーの可視画素の値を反転します。 (つまり各値は 255 との差に置き換わります。) 次に両値の積を 255 で除算した値を再び反転します。 その結果、 ほとんどの画像は明るくなり、 ときには「洗い晒し」たようにも見えます。 このモードの例外は、 レイヤーが黒い場合にもう一方のレイヤーの色から何も変化しないことと、 レイヤーが白い場合には画像が白くなることです。 画像の色は暗いところほど透明になります。
等式はつぎのとおり。
このモードは可換です。 両レイヤーの順序を問いません。
- 覆い焼き
-
モードは下側のレイヤーの画素の値を 256 倍してから、 上側のレイヤーの同じ位置の画素の値を反転してから 1 を加えた値により商を求めます。 その結果、 画像は通常色が薄くなり、 一部の色は反転します。
写真の業界では覆い焼きとは暗室での現像作業で画像の特定の部分の露出を抑える技法をさしています。 結果として影になっていた部分が詳しく見えるようになります。 この本来の目的で覆い焼きモードを使うのならば、 レイヤーモードよりむしろ描画ツールでグレースケール画像に対しての操作で真価を発揮します。
等式はつぎのとおり。
- 加算
-
モードは非常に簡素です。 上下の両レイヤーの画素の値の和をとります。 その結果、 ほとんどの画像は色が薄くなります。 等式から導かれる色の値は 255 を越えることもあるため、 色が薄いと最大値 255 になるようです。
等式はつぎのとおり。
このモードは可換です。 両レイヤーの順序を問いません。


Darken Layer Modes
- 比較(暗)
-
モードは上下両レイヤーの画素の値から小さな方を選んで結果の画像に使います。 一方が真っ白なレイヤーだと何の変化も起きず、 真っ黒なレイヤーがあると結果の画像も真っ黒になります。
等式はつぎのとおり。
このモードは可換です。 両レイヤーの順序を問いません。
- 乗算
-
モードは上側のレイヤーの画素の値とその下側のレイヤーの画素の値の積を 255 で除算します。 結果として画像が暗くなる場合がほとんどです。 どちらかのレイヤーに純白があればその部分はもう一方のレイヤーの色と同じになります (1 × I = I)。 どちらかのレイヤーに黒があればその部分は完全な黒になります (0 × I = 0)。
等式はつぎのとおり。
このモードは可換です。 両レイヤーの順序を問いません。
- 焼き込み
-
モードは下側のレイヤーの画素の値を反転して 256 倍し、 上側のレイヤーの同じ位置の画素の値に 1 を加えた値で除算し、 反転します。 結果として画像は暗くなる傾向があり、 いくぶん「乗算」モードに似ています。
写真の業界では焼き込みとは暗室での現像作業で画像の特定の部分の露出を強める技法をさしています。 結果として眩しくなっていた部分が詳しく見えるようになります。 この本来の目的で焼き込みモードを使うのならば、 レイヤーモードよりむしろ描画ツールを用いたグレースケール画像に対しての操作で真価を発揮します。
等式はつぎのとおり。


Contrast Layer Modes
- オーバーレイ
-
Overlay mode in theory inverts the pixel value of the lower layer, multiplies it by two times the pixel value of the upper layer, adds that to the original pixel value of the lower layer, divides by 255, and then multiplies by the pixel value of the original lower layer and divides by 255 again.
Due to a bug [4] the actual equation is equivalent to Soft light. This will not be fixed for the legacy layer mode. However, even if you explicitly use legacy layer mode, GIMP will still set the default Overlay layer mode. Images that have the legacy Overlay mode set for a layer, will have that changed to legacy Soft light, since that's what it effectively is.
- ソフトライト
-
モードは「ハードライト」モードに名前以外では何の関係もありませんが、 色はさほど明るくならず、 形象の輪郭も柔らかくなる傾向にあります。 「オーバーレイ」モードに似ています。 GIMP では数版にわたって、 「オーバーレイ」モードと「ソフトライト」モードが同一の状態が続いています。
The equation is complicated. It needs Rs, the result of Screen mode:
- ハードライト
-
モードは明るい色用と暗い色用の 2 つの等式を使い分けるためちょっとややこしくなっています。 上側のレイヤーの画素の値が 128 を越えておれば、 下に示した第 1 の数式をレイヤーの合成処理に使います。 逆に上側のレイヤーの画素の値が 128 以下ならば、 両レイヤーの画素の値の積を 2 倍して 256 で割ります。 2 枚の写真を合成するときこのモードを使えば色が明るくなり形象の輪郭がはっきりします。
The equation is complex and different according to the value >128 or < 128:


Inversion Layer Modes
- 差の絶対値
-
モードは下側のレイヤーの画素の値と上側のレイヤーの同じ位置の画素の値の差の絶対値をとります。 元の両レイヤーにどんな画像を使っても、 結果として得られる画像は風変りになります。 画像を部分的に反転させる目的に向いています。
等式はつぎのとおり。
このモードは可換です。 両レイヤーの順序を問いません。
- 減算
-
モードは下側のレイヤーの画素の値から上側のレイヤーの同じ位置の画素の値を引きます。 その結果、 画像は通常暗くなります。 得られる画像は真っ黒か黒っぽいものになりがちです。 等式から導かれる値が負の色の値となることがあり、 暗い色は最低値の 0 にされるものもあります。
等式はつぎのとおり。
- 微粒取り出し
-
モードはレイヤーから「フィルム粒子」を抽出して純粒子からなる新たなレイヤーを生成するものらしいのですが、 エンボス加工を施したような画像にする目的にも適います。 上側のレイヤーの画素の値を下側のレイヤーの同じ位置の画素の値から引き、 128 を加えます。
等式はつぎのとおり。
- 微粒結合
-
モードは粒状レイヤー (「微粒取り出し」モードで作成できる) を上側のレイヤーに融合させ元のレイヤーの粒状性は残します。 ちょうど「微粒取り出し」モードの逆です。 上下の両レイヤーの画素の値の和から 128 を除算します。
等式はつぎのとおり。
- 除算
-
モードは下側のレイヤーの画素の値を 256 倍したあとで上側のレイヤーの同じ位置の画素の値に 1 を加えた値で除算します。 (1 を加えるのは 0 で除算するのを避けるためです。) その結果、 ほとんどの画像は色が薄くなり、 ときには「日焼け」したようにも見えます。
等式はつぎのとおり。


HSV Components Layer Modes
- HSV Hue
-
図8.67 Example for layer mode 「HSV Hue」
マスク 1 を 100% 不透明な上側のレイヤーとして使う。
マスク 2 を 100% 不透明な上側のレイヤーとして使う。
HSV Hue mode uses the Hue of the upper layer and the Saturation and Value of the lower layer to form the resulting image. However, if the Saturation of the upper layer is zero, the Hue is taken from the lower layer, too.
- HSV Saturation
-
図8.68 Example for layer mode 「HSV Saturation」
マスク 1 を 100% 不透明な上側のレイヤーとして使う。
マスク 2 を 100% 不透明な上側のレイヤーとして使う。
HSV Saturation mode uses the Saturation of the upper layer and the Hue and Value of the lower layer to form the resulting image.
- HSL Color
-
図8.69 Example for layer mode 「HSL Color」
マスク 1 を 100% 不透明な上側のレイヤーとして使う。
マスク 2 を 100% 不透明な上側のレイヤーとして使う。
HSL Color mode uses the Hue and Saturation of the upper layer and the Lightness of the lower layer to form the resulting image.
- HSV Value
-
図8.70 Example for layer mode 「HSV Value」
マスク 1 を 100% 不透明な上側のレイヤーとして使う。
マスク 2 を 100% 不透明な上側のレイヤーとして使う。
HSV Value mode uses the Value of the upper layer and the Saturation and Hue of the lower layer to form the resulting image. You can use this mode to reveal details in dark and light areas of an image without changing the Saturation.


