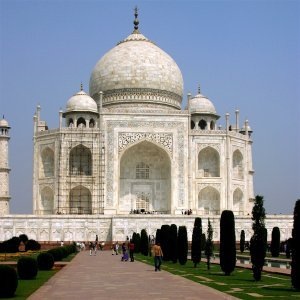
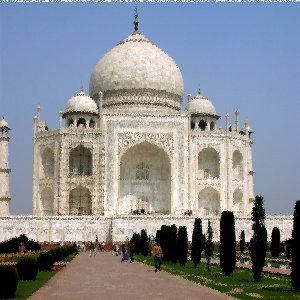
Slurring produces an effect resembling melting the image downwards; if a pixel is to be slurred, there is an 80% chance that it is replaced by the value of a pixel directly above it; otherwise, one of the two pixels to the left or right of the one above is used. All or only some pixels in an active layer or selection are affected, the percentage of affected pixels is determined by the Randomization (%) option.
- Presets, “Input Type”, Clipping, Blending Options, Forhåndsvisning, Merge filter, Split view
-
![[Bemærk]](images/note.png)
Bemærk Disse indstillinger er beskrevet i Afsnit 2, “Fælles funktioner”.
- Randomization (%)
-
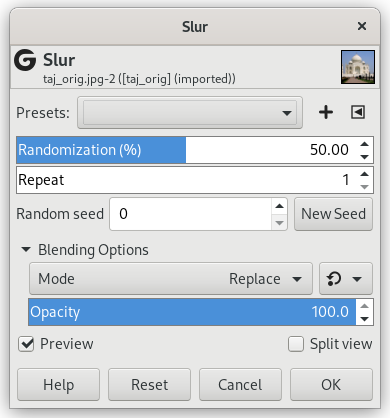
This slider represents the percentage of pixels of the active layer or selection which will be slurred. The higher value, the more pixels are slurred, but because of the way the filter works, its effect is most noticeable if this slider is set to a medium value, somewhere around 50. Experiment with it and try for yourself!
- Repeat
-
This slider represents the number of times the filter will be applied. Higher values result in more slurring, moving the color over a longer distance.
- Random seed, New Seed
-
This option controls the randomness of the filter. The Random seed box lets you manually enter a seed for the randomization algorithm used. You can also generate a random seed by pressing the button. If the same random seed is used in the same situation, the filter produces exactly the same results. A different random seed produces different results.


