GIMP uses the Save command only for saving images in its native XCF format. When you need your image in a different file format, you can use the Export command.
-
You can access this command in the main menu through → ,
-
or from the keyboard by using the shortcut Ctrl+Shift+E.
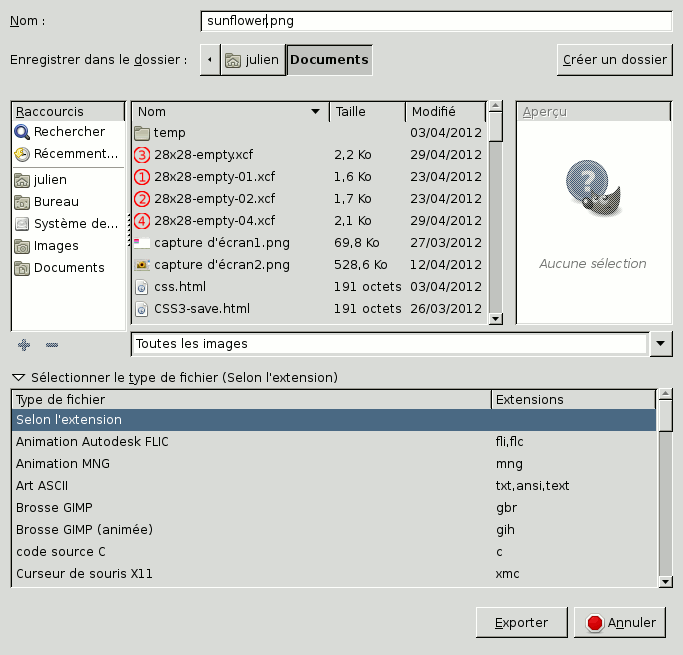
In the file browser, you can edit filename and extension directly in the Name field (default is « Untitled.png ») or by selecting an existing file to override in name list. Navigate the folders if you prefer a different image destination. You can also create a new folder if necessary.
Sélectionner le type de fichier. If you expand this option, you can select the file format and related file extension for your file in the list.
Les formats de fichiers sont décrits dans Section 1, « Fichiers ».
Quand le nom de fichier et la destination sont définis, cliquer sur , ce qui ouvre la boîte de dialogue d’exportation pour le format de fichier spécifié.
![[Note]](images/note.png)
|
Note |
|---|---|
|
If the name you entered already existed, you will be asked if you want to overwrite that file or not. If a layer mask or channel is selected instead of a layer, and the export format does not support this, you will be asked for confirmation. |
If you have loaded a non-XCF file, the → command (followed by the file name) allows you to overwrite the original file, keeping its file format.
If you modify an image that you already have exported before, the → command (followed by the file name) allows you to export the file again in the same file format.


