GIMP gebruikt de opdracht Opslaan alleen voor het opslaan van afbeeldingen naar zijn eigen indeling XCF. Wanneer u een afbeelding in een andere indeling nodig hebt, kunt u de opdracht Exporteren gebruiken.
-
U kunt deze opdracht in het hoofdmenu openen via → ,
-
of met het toetsenbord met de sneltoets Ctrl+Shift+E.
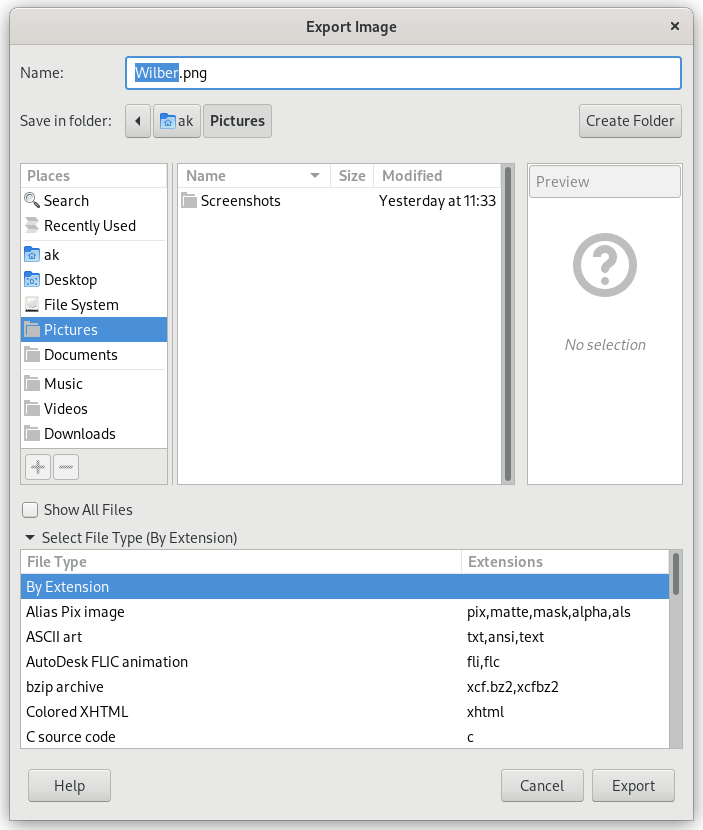
In de bestandsbrowser kunt u de bestandsnaam en extensie direct bewerken in het veld Naam (standaard is “Naamloos.png”) of door een bestaand bestand te selecteren om te overschrijven in de lijst met namen. Navigeer door de mappen als u een ander doel voor de afbeelding wilt hebben. U kunt, als u dat wilt, ook een nieuwe map maken.
Selecteer bestandstype. Als u deze optie vergroot, kunt u de bestandsindeling en gerelateerde bestandsextensie selecteren voor uw bestand in de lijst.
Dialoogvensters voor de bestandsindelingen worden beschreven in Paragraaf 1, “Bestanden”.
Als de bestandsnaam en doel zijn ingesteld, klik dan op . Dat opent het dialoogvenster Exporteren voor de gespecificeerde bestandsindeling.
![[Opmerking]](images/note.png)
|
Opmerking |
|---|---|
|
Als de naam die u hebt ingevuld al bestaat, zult u worden gevraagd om dat bestand te overschrijven, of niet. Als een laagmasker of kanaal is geselecteerd, in plaats van een laag, en de indeling voor exporteren ondersteunt dat niet, zult u om bevestiging worden gevraagd. |
Als u een niet-XCF-bestand hebt geladen, stelt de opdracht → (gevolgd door de bestandsnaam) u in staat om het originele bestand te overschrijven, het behoudt zijn bestandsindeling.
Als u een afbeelding aanpast die u al eerder hebt geëxporteerd, stelt de opdracht → (gevolgd door de bestandsnaam) u in staat om het bestand opnieuw te exporteren met dezelfde bestandsindeling.


