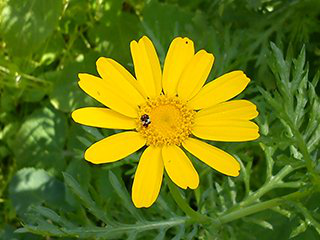
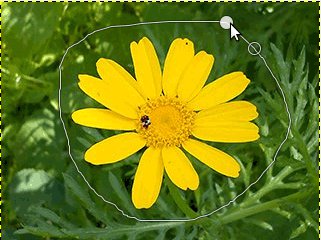
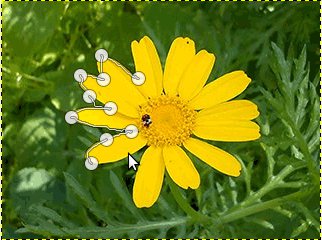
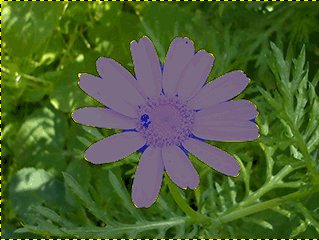
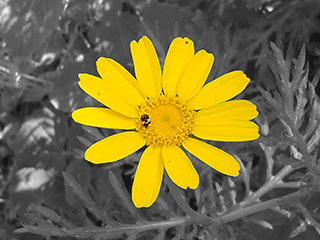
Sometimes you need to separate the subject of an image from its background. You may want to have the subject on a flat color, or keep the background transparent so you can use it on an existing background, or any other thing you have in mind. To do this, you must first use GIMP's selection tools to draw a selection around your subject. This is not an easy task, and selecting the correct tool is crucial. You have several tools to accomplish this:
-
The “Free Select Tool” allows you to draw a border using either freehand or straight lines. Use this when the subject has a relatively simple shape. Read more about this tool here: 2.4절. “자유 선택 도구(올가미)”
-
The “Scissors Select tool” lets you select a freehand border and uses edge-recognition algorithms to better fit the border around the object. Use this when the subject is complex but distinct enough against its current background. Read more about this tool here: 2.8절. “Scissors Select”
-
The “Foreground Select Tool” lets you mark areas as “Foreground” or “Background” and refines the selection automatically. Read more about this tool here: 2.5절. “물체 선택 도구”
Once you have selected your subject successfully, use → . Now, instead of the subject, the background is selected. What you do now depends on what you intended to do with the background:
-
배경을 단일 색상으로 채우기:
도구 상자의 전경색 미리보기(왼쪽 상단에 두 가지 색상의 사각형이 겹쳐진 아이콘)를 클릭하여 원하는 색상을 선택합니다. 그리고 3.4절. “채우기 도구”를 이용하여 배경을 선택한 색상으로 채웁니다.
-
선택한 개체의 색상은 유지하면서 배경만 흑백으로 만들기:
→ 메뉴를 선택합니다. 무채화 대화 상자에서 모드를 변경하면서 가장 좋은 모드를 선택한 다음 [확인] 버튼을 누릅니다.
