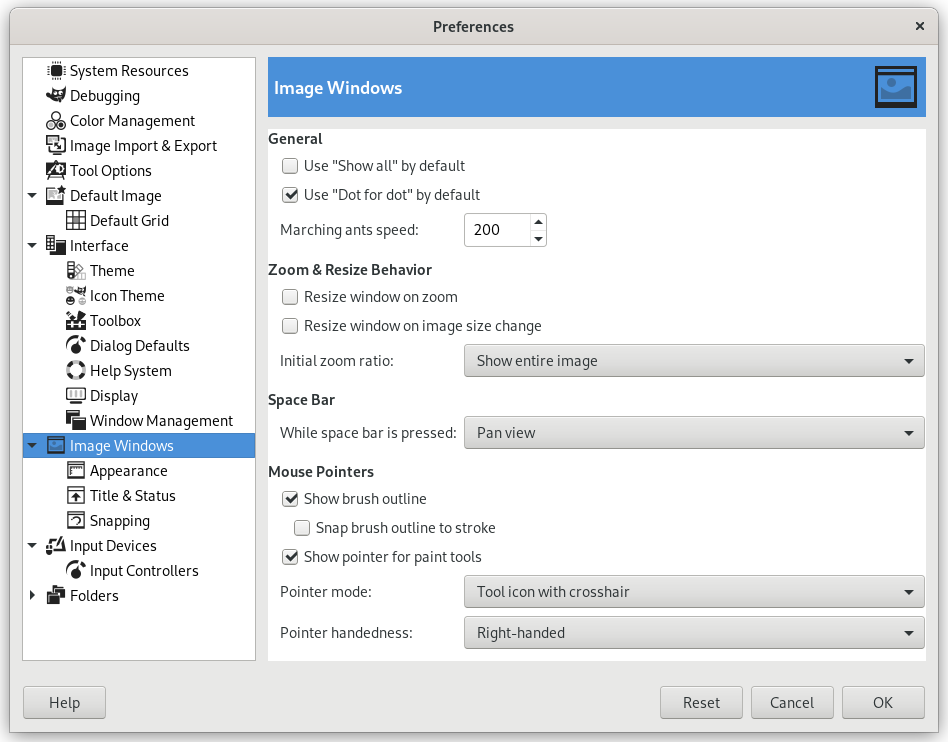
This page lets you customize several aspects of the behavior of image windows.
The preferences dialog can be accessed from the main menu, through → .
Yleiset
- Merge menu and titlebar
-
When enabled the titlebar and the menu will be shown together in one bar. This can be useful to save some vertical space on your screen. This requires a restart before it takes effect.
- Use ”Show all” by default
-
This sets the default behavior for Show all option. When opening a new image the setting here will be applied, and can then be overridden from the View menu when needed.
- Käytä ”Dot for dot” oletuksena
-
Using ”Dot for dot” means that at 1:1 zoom, each pixel in the image is scaled to one pixel on the display. If ”Dot for dot” is not used, the size is determined by the X and Y resolution of the displayed image. See the Scale Image section for more information.
- Marssivien muurahaisten nopeus
-
When you create a selection, the edge of it is shown as a dashed line with dashes that appear to move, marching slowly along the boundary: they are jokingly called ”marching ants”. The smaller the value entered here, the faster the ants march.
Zoomaus ja koon muuttamisen toiminta
- Muuta ikkunan kokoa zoomaamalla
-
This setting only affects Multi-window mode.
If this option is checked, then each time you zoom the image, the image window will automatically resize to follow it. Otherwise, the image window will maintain the same size when you zoom the image.
- Muuta ikkunan kokoa kuvan koon muuttuessa
-
This setting only affects Multi-window mode.
If this option is checked, then each time you change the size of the image, by cropping or resizing it, the image window will automatically resize to follow. Otherwise, the image window will maintain the same size.
- Alkuperäinen zoomaussuhde
-
You can choose either to have images, when they are first opened, scaled so that the whole image fits comfortably on your display, or else shown at 1:1 zoom. If you choose the second option, and the image is too large to fit on your display, then the image window will show only part of it (but you will be able to scroll to other parts).


