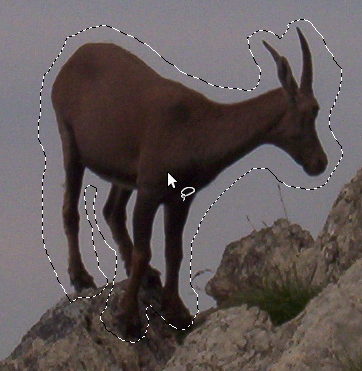
The Free Selection tool, lets you create a selection by drawing it with the pointer.
You can use this tool in two ways. First create the starting point by clicking on your image. Then:
-
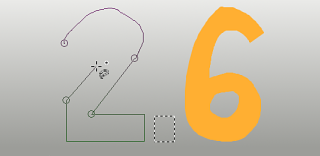
Keep the mouse button pressed (i.e click-and-drag), drag to draw a freehand selection. When the end point is on top of the starting point, release the mouse button to close the selection.
Si vous cliquez sur le point terminal, il s’accompagne alors d’une croix de déplacement. Si vous le faites glisser, la forme de la sélection s’élargit.
-
Or release the mouse button and drag to draw a polygonal selection. When the end point is on top of the starting point, click to close the selection.
Press the Ctrl key and click on the end point: moving the mouse pointer forces moving angles to 15°; so, you can draw horizontal or vertical lines easily.
In both cases, double clicking on the end point closes the selection with a straight line.
In polygonal mode, this selection is a preliminary selection; ants are marching, but the small yellow circle is still present: you can copy the selection and, pressing the Backspace key, you return to the previous selection step (re-open the shape), and you can edit the selection.
Appuyez sur Entrée ou double-cliquez à l’intérieur de la forme pour valider la sélection.
En appuyant sur et en relâchant le bouton de la souris vous permet de mélanger des segments à main levée et des segments polygonaux. Vous pouvez passer en dehors du bord de l’image et revenir à l’intérieur si vous le voulez.
Free Select is often a good tool to use for « roughing in » a selection; it is not so good for precise definition. Experienced users find that it is often convenient to begin with the Free Select tool, but then switch to Quick Mask mode for detail work.
Le nom anglais de cet outil est « Free Selection »
![[Note]](images/note.png)
|
Note |
|---|---|
|
L’outil Sélection à main levée est plus facile à utiliser avec une tablette graphique qu’avec la souris. |
There are different possibilities to activate the tool:
-
From the main menu: → → .
-
By clicking the tool icon
in the Toolbox.
-
By pressing the F keyboard shortcut.
L’outil de Sélection à main levée n’a pas de touches de contrôle particulière, mais dispose de celles qui sont communes à toutes les sélections. Voyez Fonctions communes pour plus de détails.
Retour arrière revient à l’étape de sélection précédente (supprime le dernier segment de sélection), Échap supprime tous les segments de sélection.
Pour déplacer la sélection, voir Déplacer les sélections
Normally, tool options are displayed in a window attached under the Toolbox as soon as you activate a tool. If they are not, you can access them from the main menu through → → which opens the option window of the selected tool. The available tool options can also be accessed by double clicking the corresponding tool icon in the Toolbox.
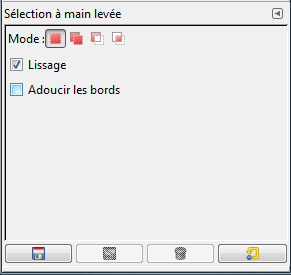
- Mode, Lissage, Feather edges
-
![[Note]](images/note.png)
Note See Selection Tools Options for help with options that are common to all these tools. Only options that are specific to this tool are explained here.
Marching ants come with a continuous line, meaning that the selection is not validated yet and that you can still change the selection shape (mouse pointer comes with the Move icon). But you can't use (holding it pressed) Shift, Ctrl yet. You have to hit the Enter key. Then you can use (holding them pressed) Shift to add a selection, Ctrl to subtract a selection, Shift + Ctrl to intersect two selections. When you are satisfied with your changes, hit Enter key to validate the selection.


