A ferramenta de aerógrafo emula um aerógrafo tradicional. Essa ferramenta é para pintar áreas de cor suaves.
Existem várias formas para ativar a ferramenta:
-
From the main menu: → → .
-
By clicking the tool icon
 in the Toolbox.
-
By pressing the A keyboard shortcut.
- Ctrl
-
O Ctrl transforma o aerógrafo em um Seletor de cor.
- Shift
-
Shift places the airbrush into straight line mode. Holding Shift while clicking the mouse will generate a straight line. Consecutive clicks will continue drawing straight lines that originate from the end of the last line.
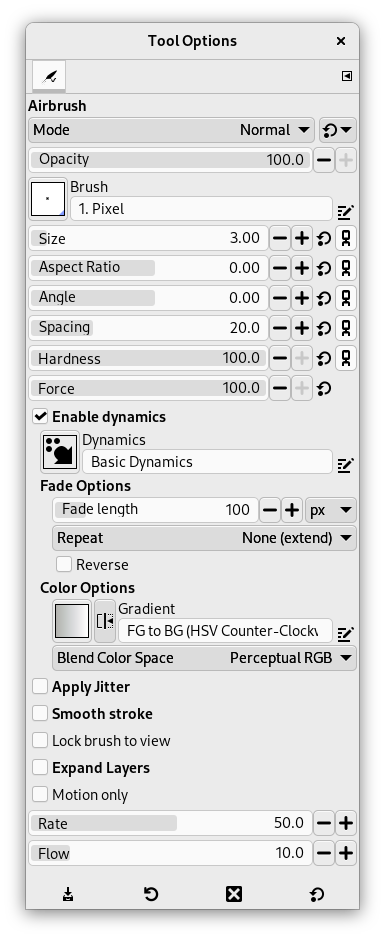
Normally, tool options are displayed in a window attached under the Toolbox as soon as you activate a tool. If they are not, you can access them from the main menu through → → which opens the option window of the selected tool. The available tool options can also be accessed by double clicking the corresponding tool icon in the Toolbox.
- Modo, Opacidade, Pincel, Tamanho, Proporção, Ângulo, Espaçamento, Dureza, Força, Dinâmicas, Opções de dinâmicas, Aplicar espalhamento, Pincelada suave, Lock brush to view, Expand Layers
- Veja Opções em comum das ferramentas de pintura para uma descrição das opções da ferramenta que são aplicáveis a todas as ferramentas de pintura.
- Motion only
-
If this option is checked, the airbrush paints only when it moves.
- Taxa
-
O seletor de taxa ajusta a velocidade da aplicação da cor que o aerógrafo pinta. Uma configuração mais alta irá produzir uma pincelada mais forte em pouco tempo.
- Fluxo
-
Este seletor controla a quantidade de cor que o aerógrafo pinta. Uma configuração mais alta aqui irá resultar em pinceladas mais escuras.


