In this section, you will learn how to create simple objects in GIMP.
Let's begin by painting a straight line. The easiest way to create a straight line is by using your favorite brush tool, the mouse and the keyboard.
-
Create a New Image
Create a new image.
-
Choose a Tool
Select a brush tool from the Toolbox, for example the
Pencil tool or the
Paintbrush tool.
-
Select a Color
Select a foreground color, but be sure that the foreground and background colors are different.
-
Create a Starting Point
Pav. 7.32. The start of the straight line
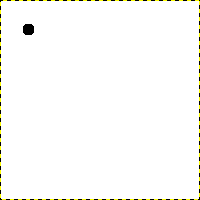
Dialoge rodomas naujas paveikslėlis, kuriame pirmas taškas parodo naujos linijos pradžią. Taškas yra juodos priekinio plano spalvos.
The size of this dot represents the current brush size, which you can change in the Brush Dialog.
Create a starting point by clicking on the image display area with the left mouse button. Your canvas should look similar to Pav. 7.31, „A new image“.
-
Draw the Line
Pav. 7.33. The helpline
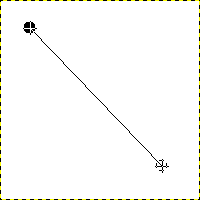
Ekrano nuotraukoje rodoma pagalbinė linija, parodanti kaip atrodys nupiešta linija.
Now, hold down the
Shift key on your keyboard and move the mouse away from the starting point you created. You'll see a thin line indicating how the line will look.
-
Finish the Line
Pav. 7.34. The line after the second click
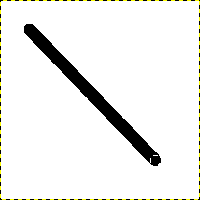
Sukurta linija paveikslėlio lange atsiranda nupiešus antrą tašką (arba galinį tašką) laikant paspaudus klavišą Shift.
If you're satisfied with the direction and length of the line, click the left mouse button again to finish the line. The last step is to let go of the Shift key. GIMP displays a straight line now.
Pav. 7.35. Example I
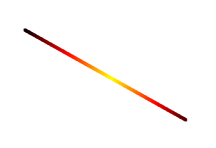
Set Dynamics to „Color From Gradient“ and set Color Options to „Incandescent“. Under Fade Options, set Repeat to „Truncate“. Depending on the size of your underlying image, you might want to change the Fade length as well.
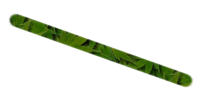
Select the Clone tool and set the source to „Maple Leaves“ pattern.
Pav. 7.36. Example II
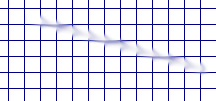
Use → → → to create a grid. Use the Smudge Tool to draw a line with a slightly larger brush.
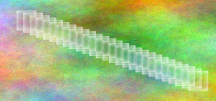
Use → → → to create the cool plasma cloud. Use the Erase Tool with a square brush to draw a line.
Pav. 7.37. Example III
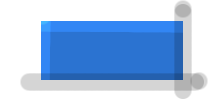
Use the rectangle select tool to select a rectangle, and then fill the selection with a light blue color. Select the Dodge/Burn tool. Set the type to Dodge and paint along the top and left side using an appropriately sized brush. Set the type to Burn and paint along the right and bottom.


