«Gni ut»-verktøyet lagar fingermåling. Det fungerer på to måtar:
-
Flyt er sett til 0,00 (standard), vil utsmøringsverktøyet bruka den gjeldande penselen for å smørja ut fargane i det gjeldande laget eller utvalet. Det tek ein farge i forbifarten og brukar denne for å blanda med den neste fargen det møter.
-
Når Flyt er større enn 0,00, verkar utgnidingsverktøyet som ein pensel som blandar forgrunnsfargen i verktøykassen med den underliggjande fargen.
Det er fleire måtar å slå på verktøyet på:
-
Frå biletmenyen via → → .
-
Ved å klikka på verktøysymbolet
 i verktøykassen.
 -
Ved å trykkja tasten S.
- Shift
-
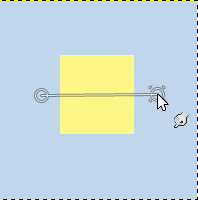
The Shift key places the smudge tool into straight line mode. Holding Shift while clicking the mouse will smudge in a straight line. Consecutive clicks will continue smudging in straight lines that originate from the end of the last line.
- Ctrl
-
Tastekombinasjonen Ctrl + Shift gjer at verktøyet teiknar i vinklar delelege med 15°. (15°, 30° osv.)
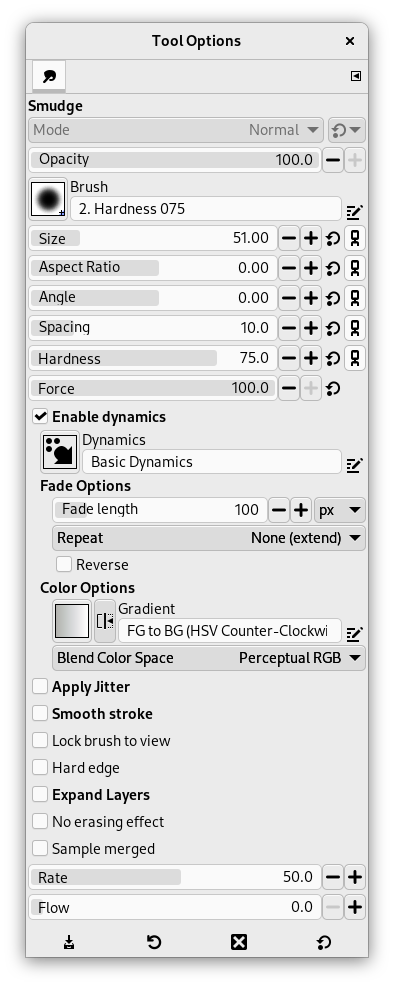
Normalt vert innstillingane for det valde verktøyet vist under verktøykassa så snart som du slår på verktøyet. Dersom dette ikkje er tilfelle, kan du få tilgang til dei frå biletmenyen via → → som vil opna verktøyinnstillingane for det valde verktøyet. Du kan også opna verktøyinnstillingane ved å dobbeltklikka på det tilsvarande verktøyikonet i verktøykassen.
- Dekkevne, Pensel, Storleik, Sideforhold, Vinkel, Mellomrom, Hardleik, Tving, Penseldynamikk, Innstillingar for penseldynamikk, Legg til sitring, Mjukare strok, Lås penselen til visinga, Utvid laga
- Du finn ei beskriving av innstillingar som gjeld mange eller alle teikneverktøya under felles innstillingar for teikneverktøya.
- Hard kant
-
Dette valet gjev eit hardt omriss for det utsmurde området.
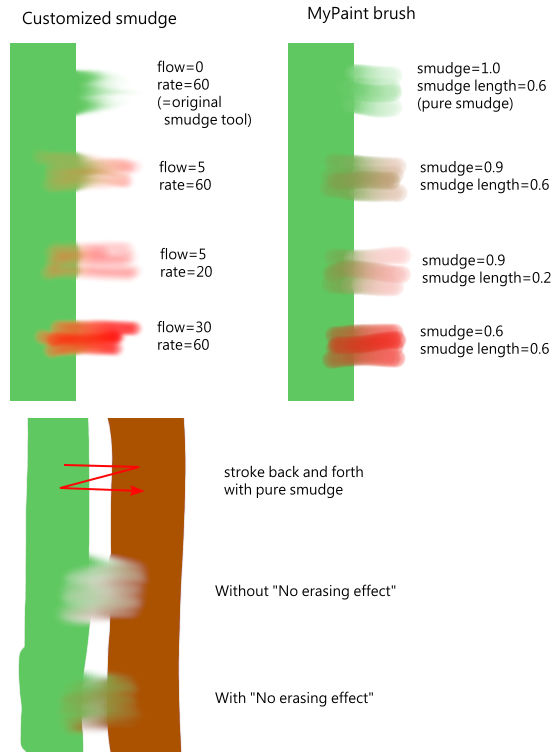
- Ingen sletteeffekt
-
Viss utgnidinga reduserer alfa for nokre pikslar, vert alfaen ikkje redusert viss dette alternativet er merkt av. Pikslane vert difor ikkje sletta. Dette er nyttig for å fylla eit gap mellom to fargeområde.
- Flett synlege
-
Viss du slår på dette valet, vert prøvene ikkje berre rekna ut på grunnlag av verdiane i det gjeldande laget, men frå alle synlege lag.
Du kan finna meir om dette i ordforklaringar.
- Mengd
-
Dette valet kunne vore kalla «utgnidingslengd» sidan det bestemmer lengda på utgnidingseffekten i eit strok.
- Flyt
-
Me har alt sett skilnaden når «Flyt» er sett til 0,00 (arbeidar på det opphavlege utglattingsverktøyet) og sett til større enn 0,00 (brukar forgrunnsargen for utglattinga).

Her er merknadar og eksempel på bruk av «Ingen sletteeffekt» og «Flyt» frå gimp-forum.net: