In this section, you will learn how to create simple objects in GIMP.
Lassen Sie uns damit anfangen, eine gerade Linie zu zeichnen. Am einfachsten geht es mit Ihrem bevorzugten Pinsel, der Maus und der Tastatur.
-
Create a New Image
Create a new image.
-
Choose a Tool
Select a brush tool from the Toolbox, for example the
 Pencil tool or the
 Paintbrush tool.
-
Select a Color
Select a foreground color, but be sure that the foreground and background colors are different.
-
Create a Starting Point
Abbildung 7.32. Der Anfangspunkt der Linie
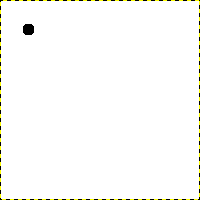
Ein neues Bild mit einem einzelnen Punkt in Vordergrundfarbe, der den Anfang der Linie anzeigt.
The size of this dot represents the current brush size, which you can change in the Brush Dialog.
Erstellen Sie einen Anfangspunkt, indem Sie mit der linken Maustaste auf die Zeichenfläche des Bildfensters klicken. Ihre Zeichenfläche sollte nun ähnlich wie oben aussehen.
-
Draw the Line
Abbildung 7.33. Die Hilfslinie
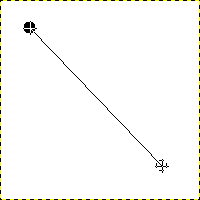
Die dünne Hilfslinie zeigt an, wie die endgültige Linie verlaufen wird.
Now, hold down the
 Shift key on your
keyboard and move the mouse away from the starting point you
created. You'll see a thin line indicating how the line will
look.
Shift key on your
keyboard and move the mouse away from the starting point you
created. You'll see a thin line indicating how the line will
look.
-
Finish the Line
Abbildung 7.34. Die Linie nach dem zweiten Linksklick
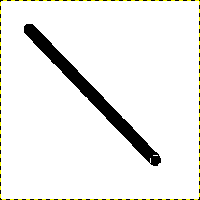
Die Linie erscheint, wenn Sie den zweiten Punkt (bzw. Endpunkt) gezeichnet haben, während die Umschalt-Taste gedrückt ist.
If you're satisfied with the direction and length of the line, click the left mouse button again to finish the line. The last step is to let go of the Shift key. GIMP displays a straight line now.

Abbildung 7.35. Example I
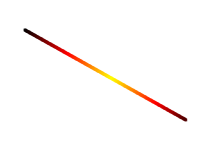
Set Dynamics to „Color From Gradient“ and set Color Options to „Incandescent“. Under Fade Options, set Repeat to „Truncate“. Depending on the size of your underlying image, you might want to change the Fade length as well.
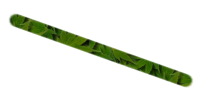
Select the Clone tool and set the source to „Maple Leaves“ pattern.
Abbildung 7.36. Example II
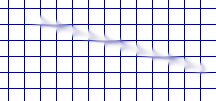
Use → → → to create a grid. Use the Smudge Tool to draw a line with a slightly larger brush.
Use → → → to create the cool plasma cloud. Use the Erase Tool with a square brush to draw a line.
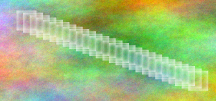
Abbildung 7.37. Example III

Use the rectangle select tool to select a rectangle, and then fill the selection with a light blue color. Select the Dodge/Burn tool. Set the type to Dodge and paint along the top and left side using an appropriately sized brush. Set the type to Burn and paint along the right and bottom.


