В этом разделе вы узнаете, как создать простые объекты в GIMP.
Начнём с рисования прямой линии. Самый простой способ создать прямую линию — использовать инструмент кисти, мышь и клавиатуру.
-
Создание нового изображения
Создайте новое изображение.
-
Выберите инструмент
Выберите инструмент кисти на панели инструментов, например
 Карандаш или
 Кисть.
 -
Выберите цвет
Выберите цвет переднего плана, но убедитесь, что цвета переднего плана и фона различаются.
-
Создание начальной точки
Рисунок 7.32. Начало прямой
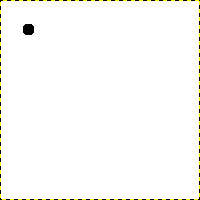
Диалог показывает новое изображение с точкой, указывающей на начало прямой и имеющей чёрный цвет переднего плана.
Размер этой точки представляет размер текущей кисти, который можно изменить в диалоге кистей.
Создайте начальную точку нажатием на области показа изображения левой кнопкой мыши. Холст должен напоминать Рисунок 7.31, «Новое изображение».
-
Рисование линии
Рисунок 7.33. Вспомогательная линия
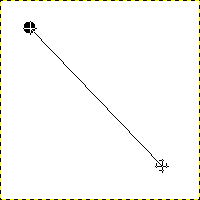
Этот снимок экрана показывает вспомогательную линию, которая указывает, как будет выглядеть конечная прямая.
Держите клавишу
 Shift на клавиатуре и передвиньте мышь от начальной точки. Появится тонкая линия, соединяющая начальную точку и текущее положение курсора мыши. Так будет выглядеть прямая, если её завершить сейчас.
 -
Завершите линию
Рисунок 7.34. Прямая после второго нажатия
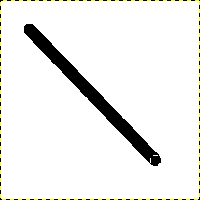
Созданная прямая появляется в окне изображения после второй точки (конечной точки), в то время как клавиша Shift ещё нажата.
Если вас устраивает направление и длина линии, щёлкните левой кнопкой мыши, чтобы завершить линию. Последний шаг — отпустить клавишу Shift. GIMP теперь отобразит прямую линию.
Рисунок 7.35. Example I

Установить для параметра «Динамика» значение «Цвет из градиента», а для параметров цвета — «Лампа накаливания». В разделе «Параметры угасания» установите для параметра «Повтор» значение «Обрезать». В зависимости от размера исходного изображения вы можете также изменить длину угасания.
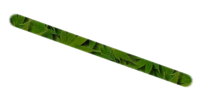
Выберите инструмент «Штамп» и установите для параметра «Источник» текстуру «Maple Leaves».
Рисунок 7.36. Example II
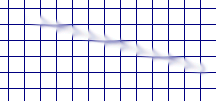
Используйте пункт меню → → → для создания сетки. Используйте инструмент «Размазывание» для рисования линии с помощью кисти большего размера.
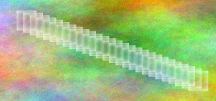
Используйте пункт меню → → → для создания холодного плазменного облака. Используйте инструмент «Ластик» с квадратной кистью, чтобы нарисовать линию.
Рисунок 7.37. Пример III
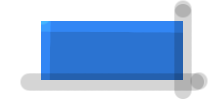
Используйте инструмент прямоугольного выделения, чтобы выделить прямоугольник, а затем заполните выделение светло-голубым цветом. Выберите инструмент Осветление/затемнение. Установите тип осветления и рисуйте вдоль верхней и левой стороны, используя кисть подходящего размера. Установите тип «Затемнение» и рисуйте вдоль правой и нижней стороны.


