This page lets you enable or disable an input device and configure it.
The preferences dialog can be accessed from the main menu, through → .
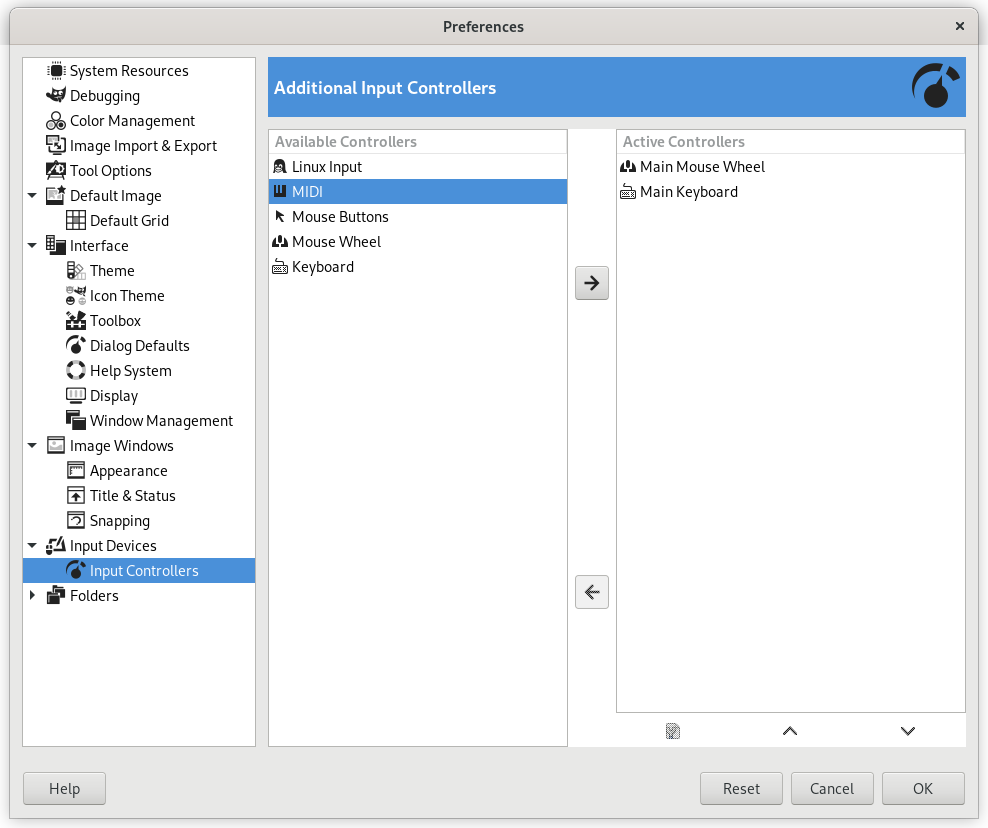
This dialog has two lists of additional input controllers: Available Controllers on the left, Active Controllers on the right. It is used to enable or disable an input device and configure it.
A click on an item will highlight it and you can move the controller from one list to the other by clicking on the respective arrow key. When you try to move a controller from the list of active controllers to the available controllers, a dialog pops up and you will have the choice of removing the controller or just disabling it.
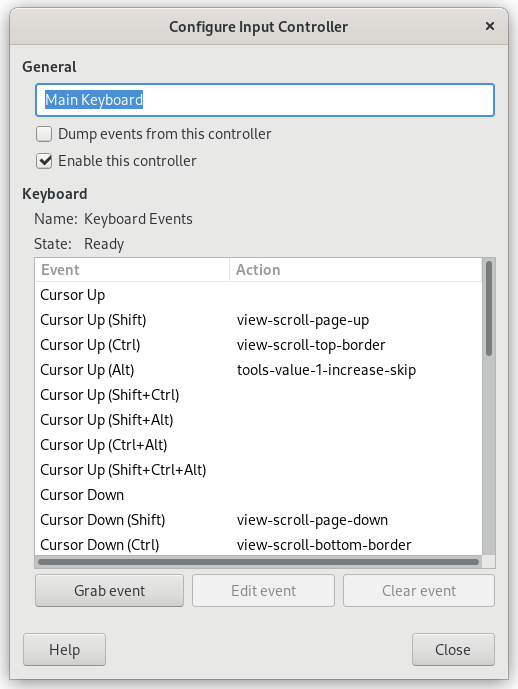
When you double click on a (typically active) controller or alternatively click on the Edit button at the bottom of the list, you can configure this controller in a dialog window:
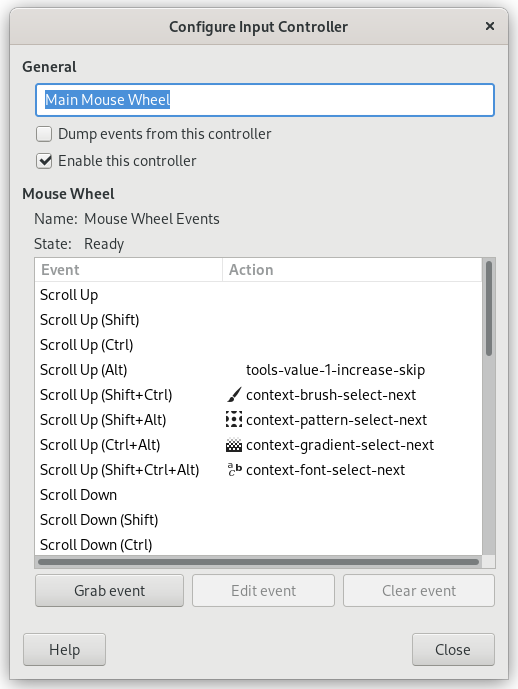
메인 마우스 휠
- 일반
-
- Dump events from this controller
-
This option must be checked if you want a print on the stdout of the events generated by the enabled controllers. If you want to see those event you should start GIMP from a terminal or making it to print the stdout to file by the shell redirection. The main use of this option is for debug.
- Enable this controller
-
This option must be checked if you want to add a new action to the mouse wheel.
- 마우스 휠 이벤트
-
This window shows the available scroll wheel events on the left, and on the right the actions associated to that event. To change or add an action to an event, either double-click or press the button.
To remove an action, press the button.
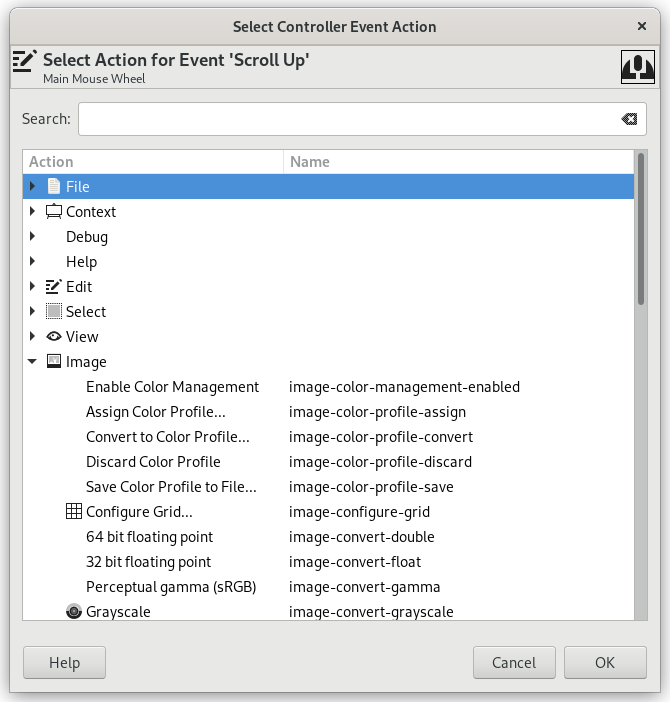
- Editing the action assigned to an event
-
After selecting an event, if you click on the button, or when you double-click, the following dialog is opened:
This dialog is similar to the one for editing keyboard shortcuts, except there is no shortcut column.
If an action is already assigned for this event, the dialog will open with that action selected; otherwise it will display the sections with the available action categories. Click on an action to select it and then press OK to confirm you want that action assigned to the selected event.
![[참고]](images/note.png)
|
참고 |
|---|---|
|
An example of changing the actions assigned to events can be found in the documentation for Creating a variable size brush. |


