Det er to måtar å laga ein ny pensel på:
-
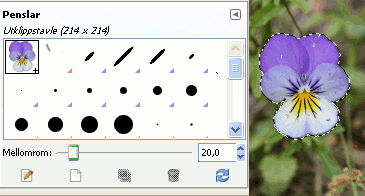
Først den raske mellombels måten. Merk det området av biletet du vil laga pensel av ved å markera det med rektangel- eller ellipse-verktøyet. dette utvalet. Du skal no kunna finna denne kopien i øvre, venstre hjørne i penseldialogvindauget under namnet «Utklippstavle». Denne kopien kan du no bruka som pensel.
Denne penselen er mellombels: han forsvinn når du lukkar GIMP. Du kan gjera han permanent ved å klikka på nedst i penselpanelet.
-
Den andre måten er litt vanskelegare.
Vel → i hovudmenyen.
Set Breidd og Høgd til for eksempel 30 pikslar.
I Avanserte innstillingar, set du for eksempel Fargerom til Gråtone og Fyll med til Kvite.
Forstørr visinga av biletet og bruk ein svart blyant for å laga ei teikning på biletet.
Vel → i hovudmenyen.
Eksporter biletet med filutvidinga
.gbri mappabrushesi den private konfigureringsmappa for GIMP.Trykk på knappen i dialogvindauget penslar
 .
.Penselen din dukkar straks opp saman med dei andre penslane. Du treng ikkje starta GIMP på nytt for å bruka han.
Figur 7.21. Stega for å laga ein pensel

Teikna biletet og lagra det som pensel
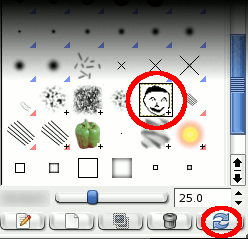
Oppdater penslane
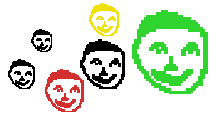
Bruk penselen